Mazda MX-5 Trickle Charge Socket and cable |
|
|
Sometimes you have to admit that companies other than Land Rover have better ideas. Well, that's not uncommon for a Land Rover owner actually. On Chrysler vehicles, a retractable worklight was offered to illuminate under the bonnet when working on the vehicle, but it could also be extended to use elsewhere. I wanted to create something similar for my Discovery, without the cost of importing a big lump of plastic from the US.
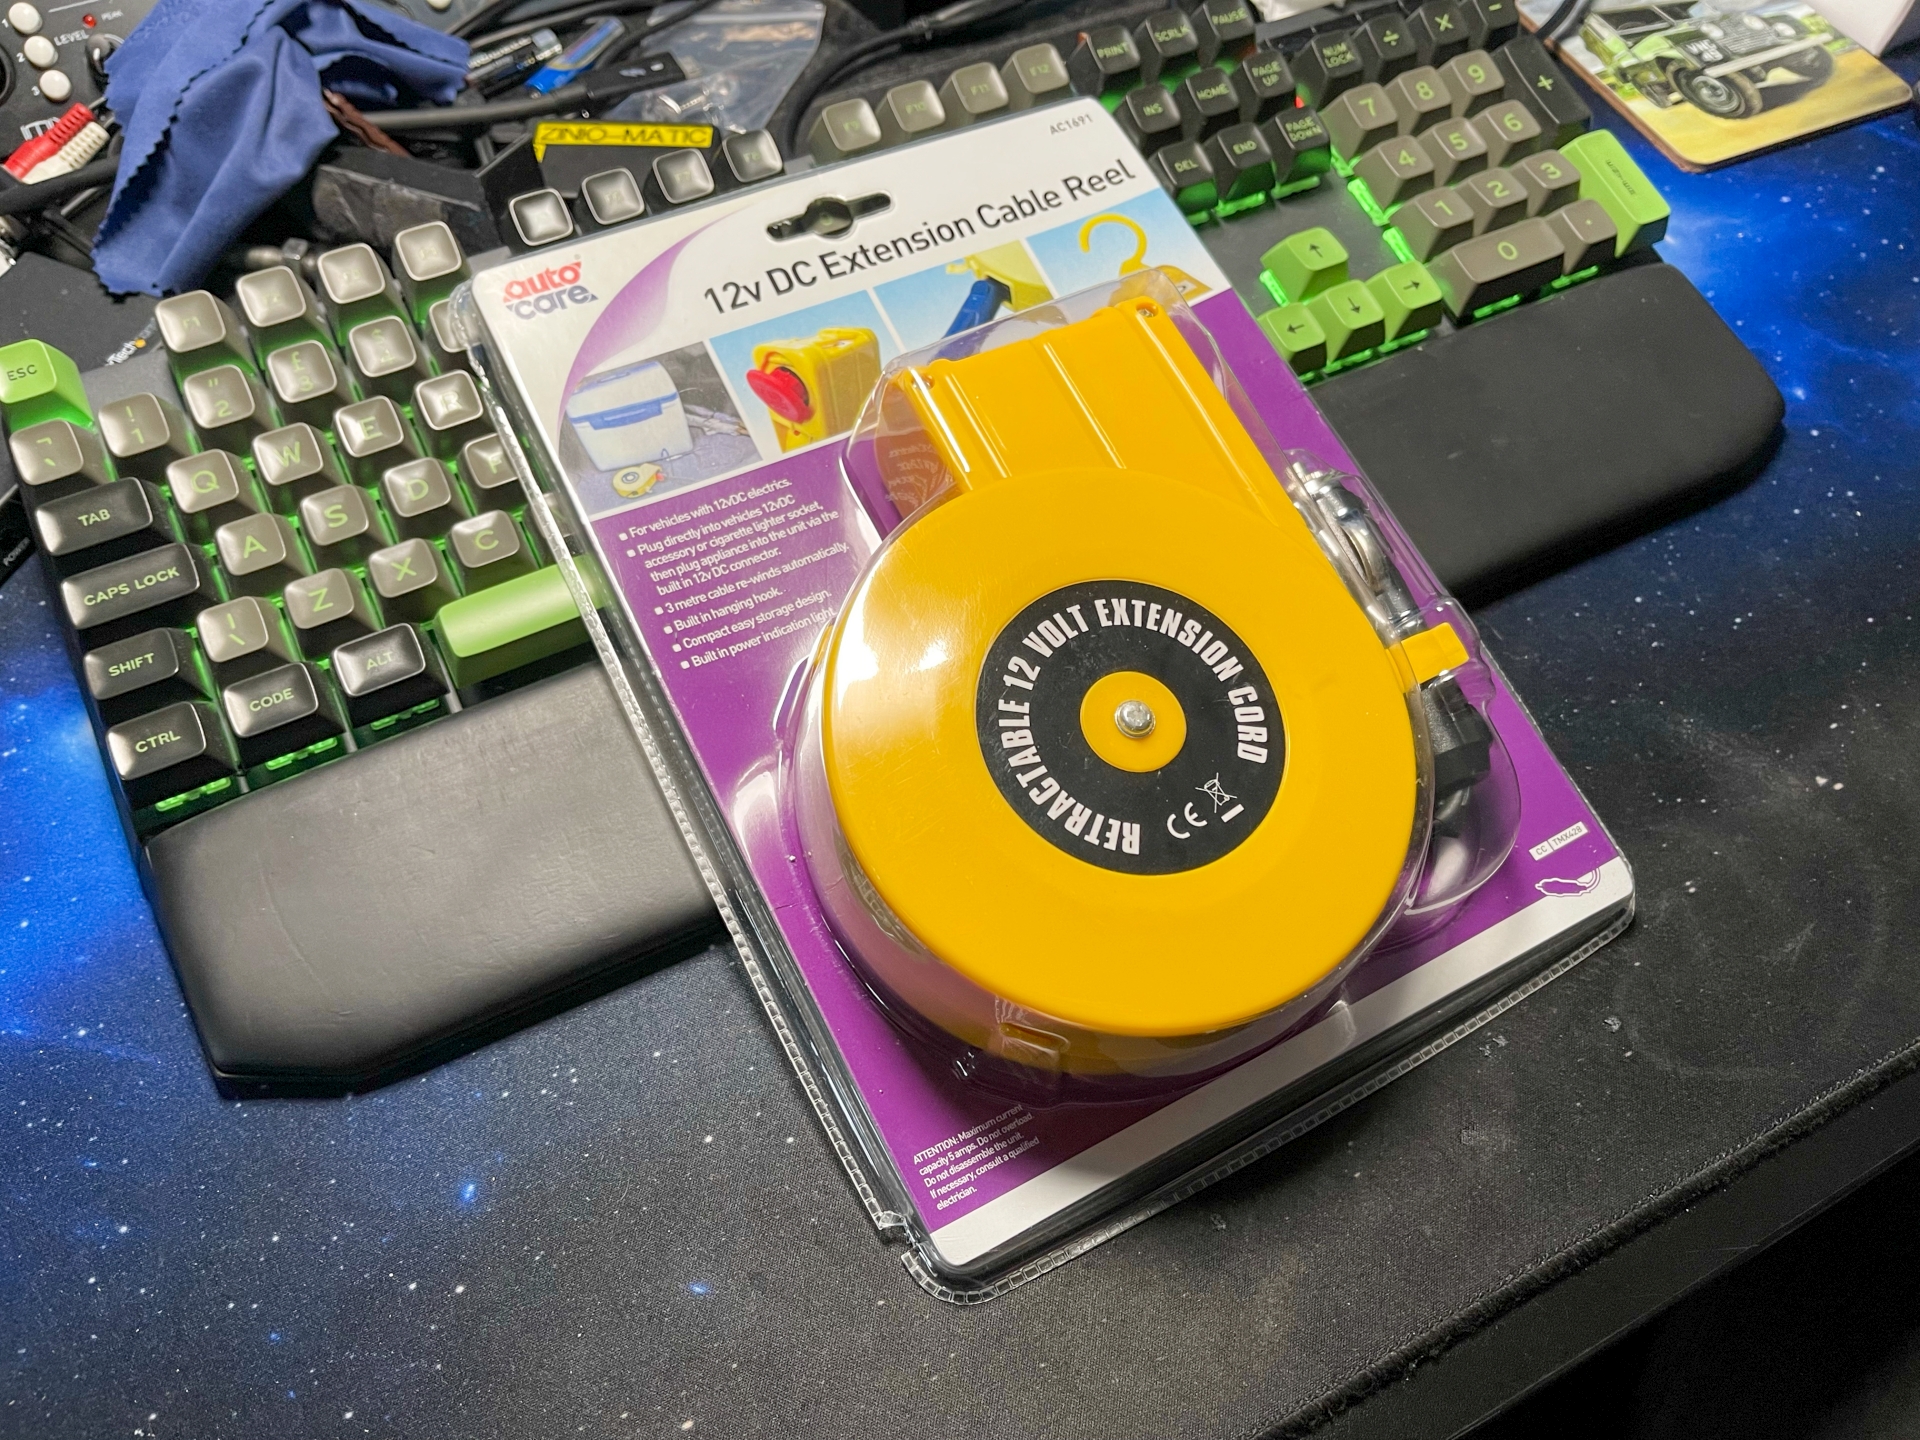
First off then, some kind of retractable cord. Turns out that those aren't particularly common, in fact I could only find one for sale and it's yellow. It's designed as 12V extension cord but will work fine for my purposes, so I got one...
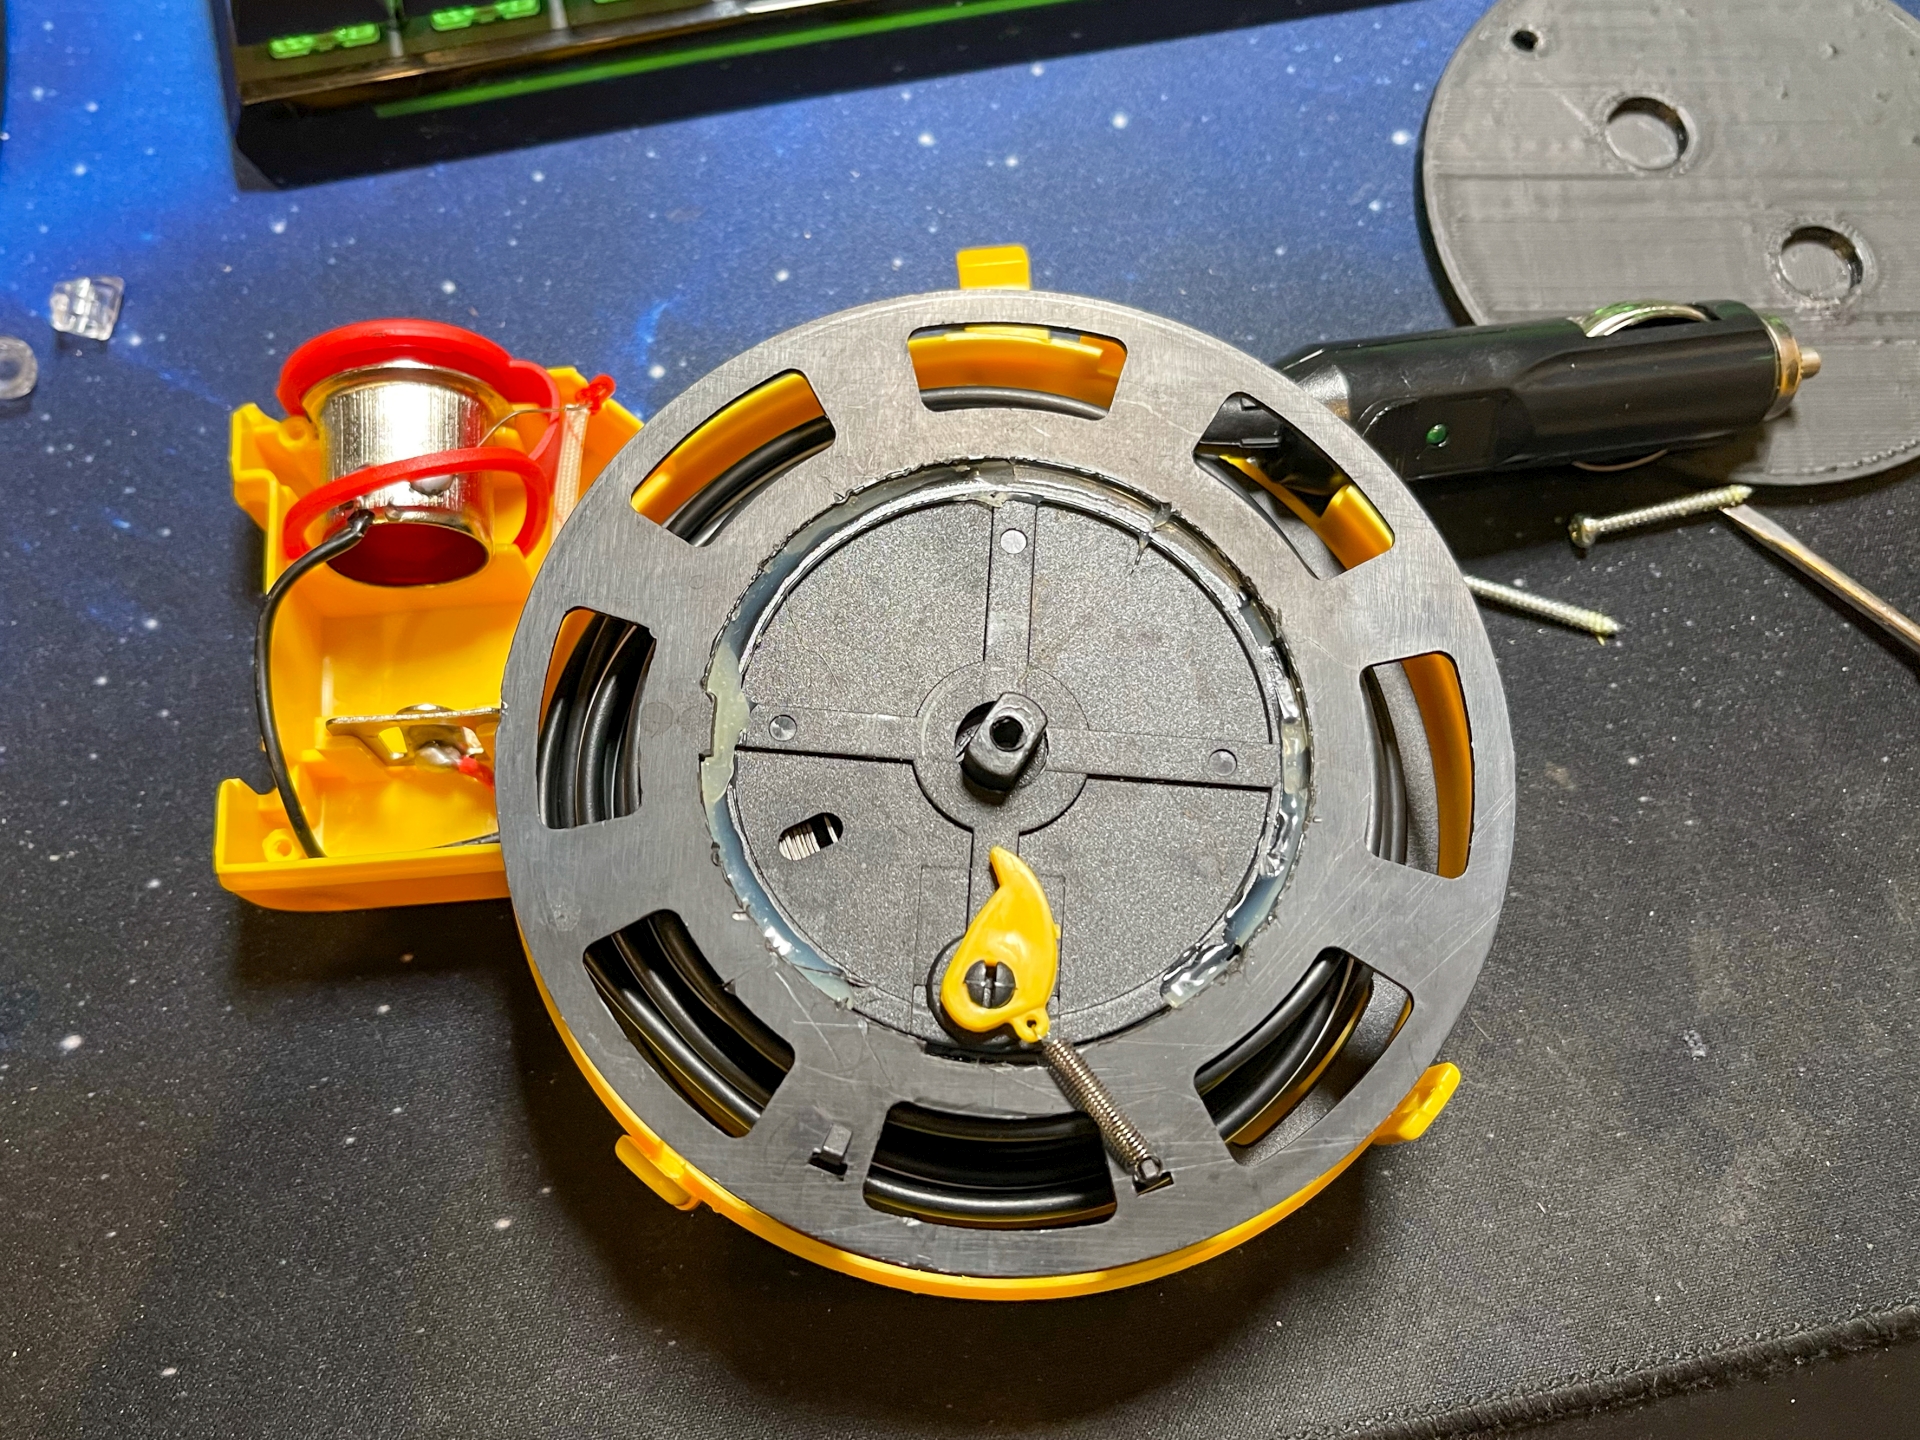
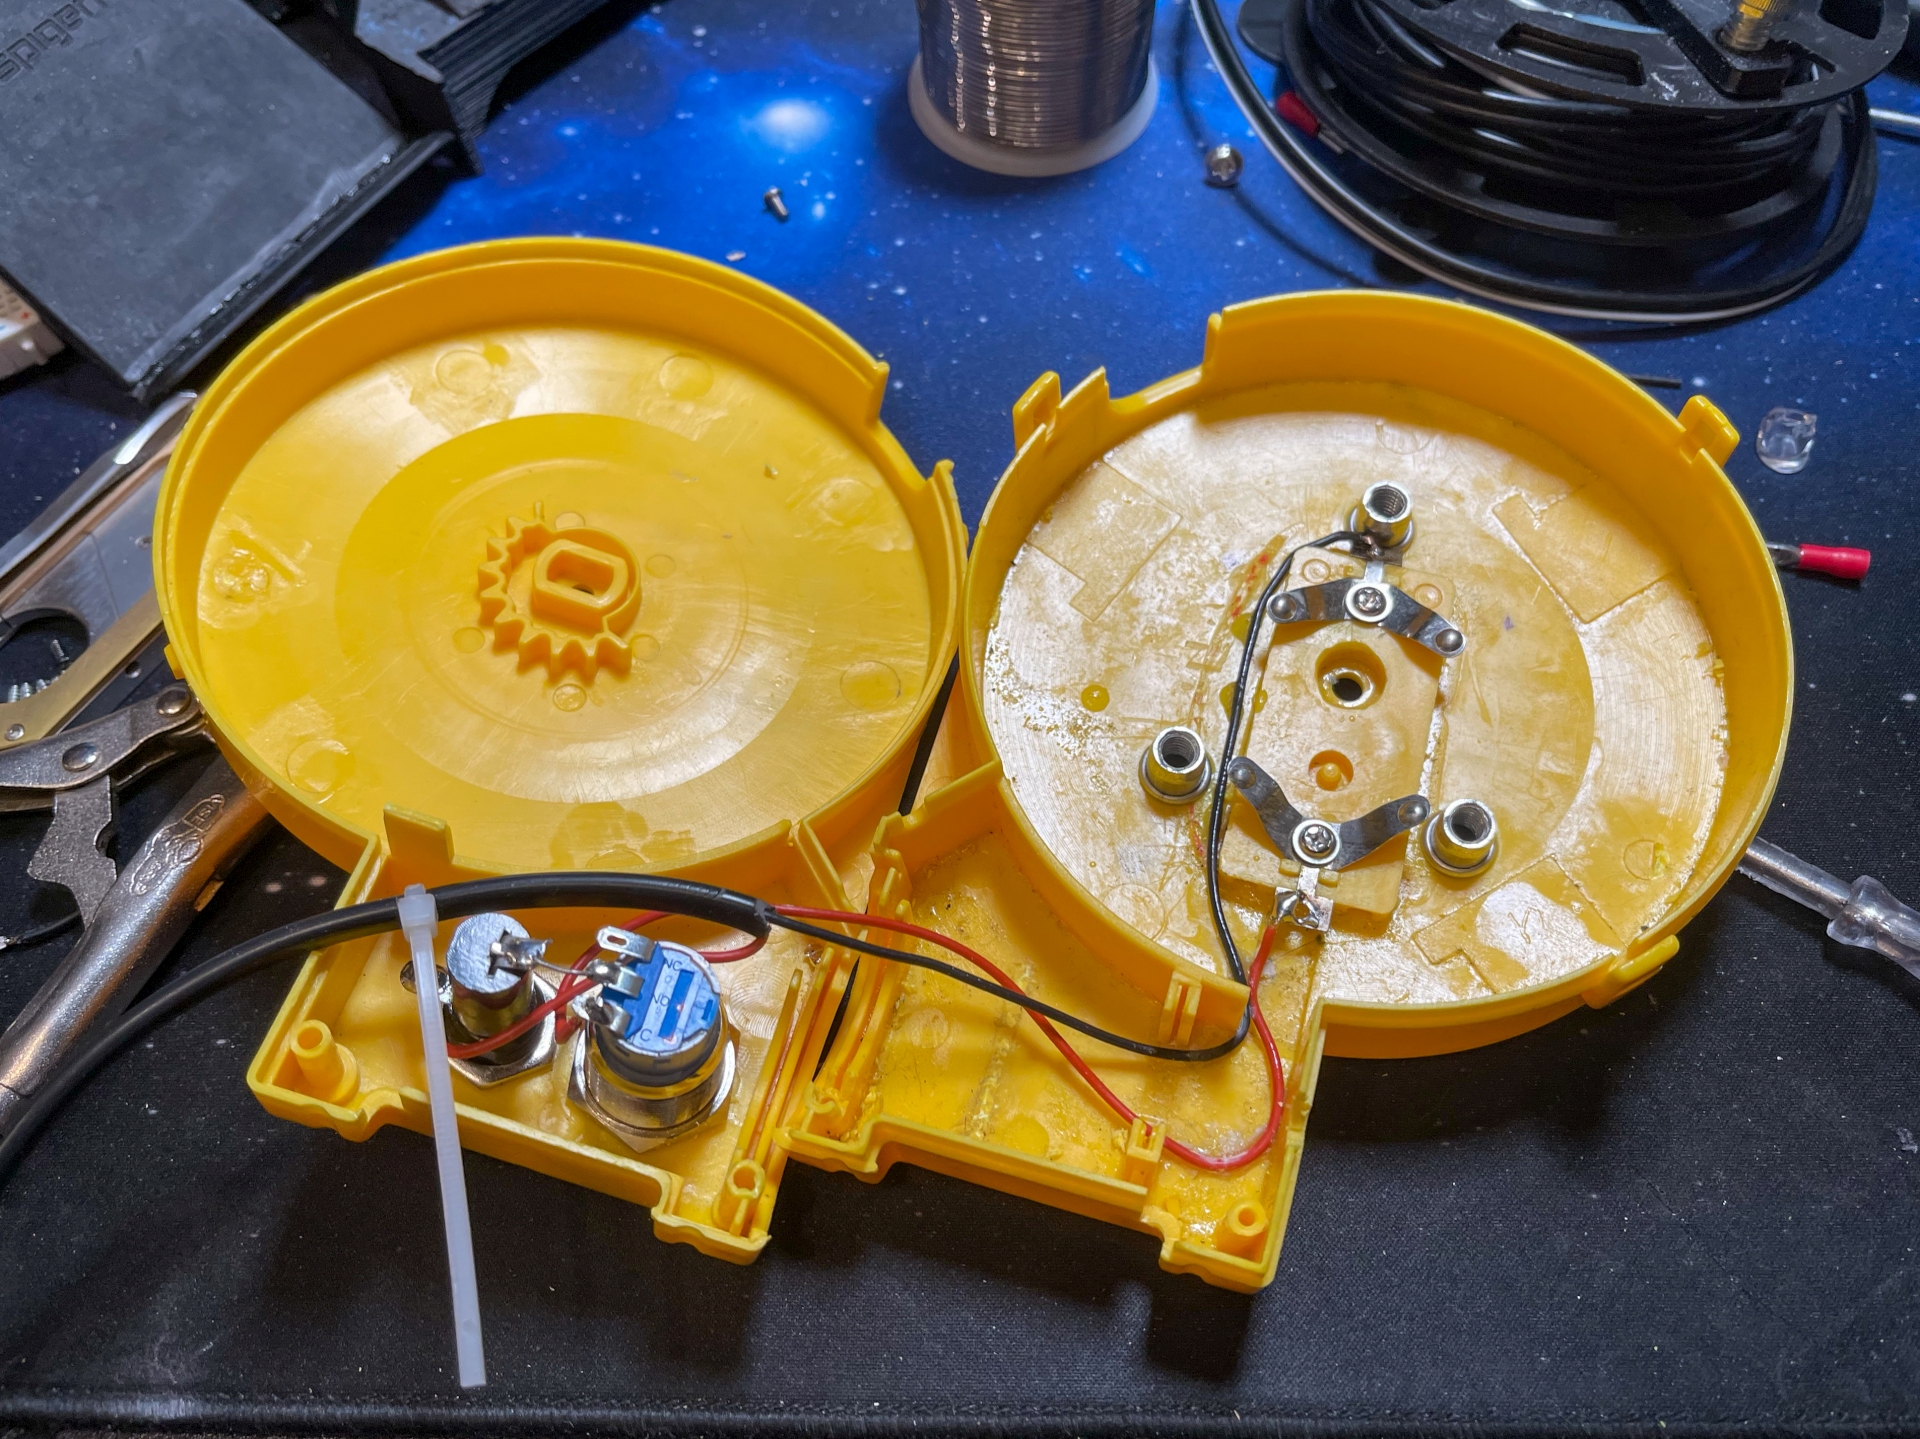
...and immediately dismantled it. Inside there's a reel and some connection gubbins. The reel has a spring inside and the little ratchet at the top engages for about half of every rotation.
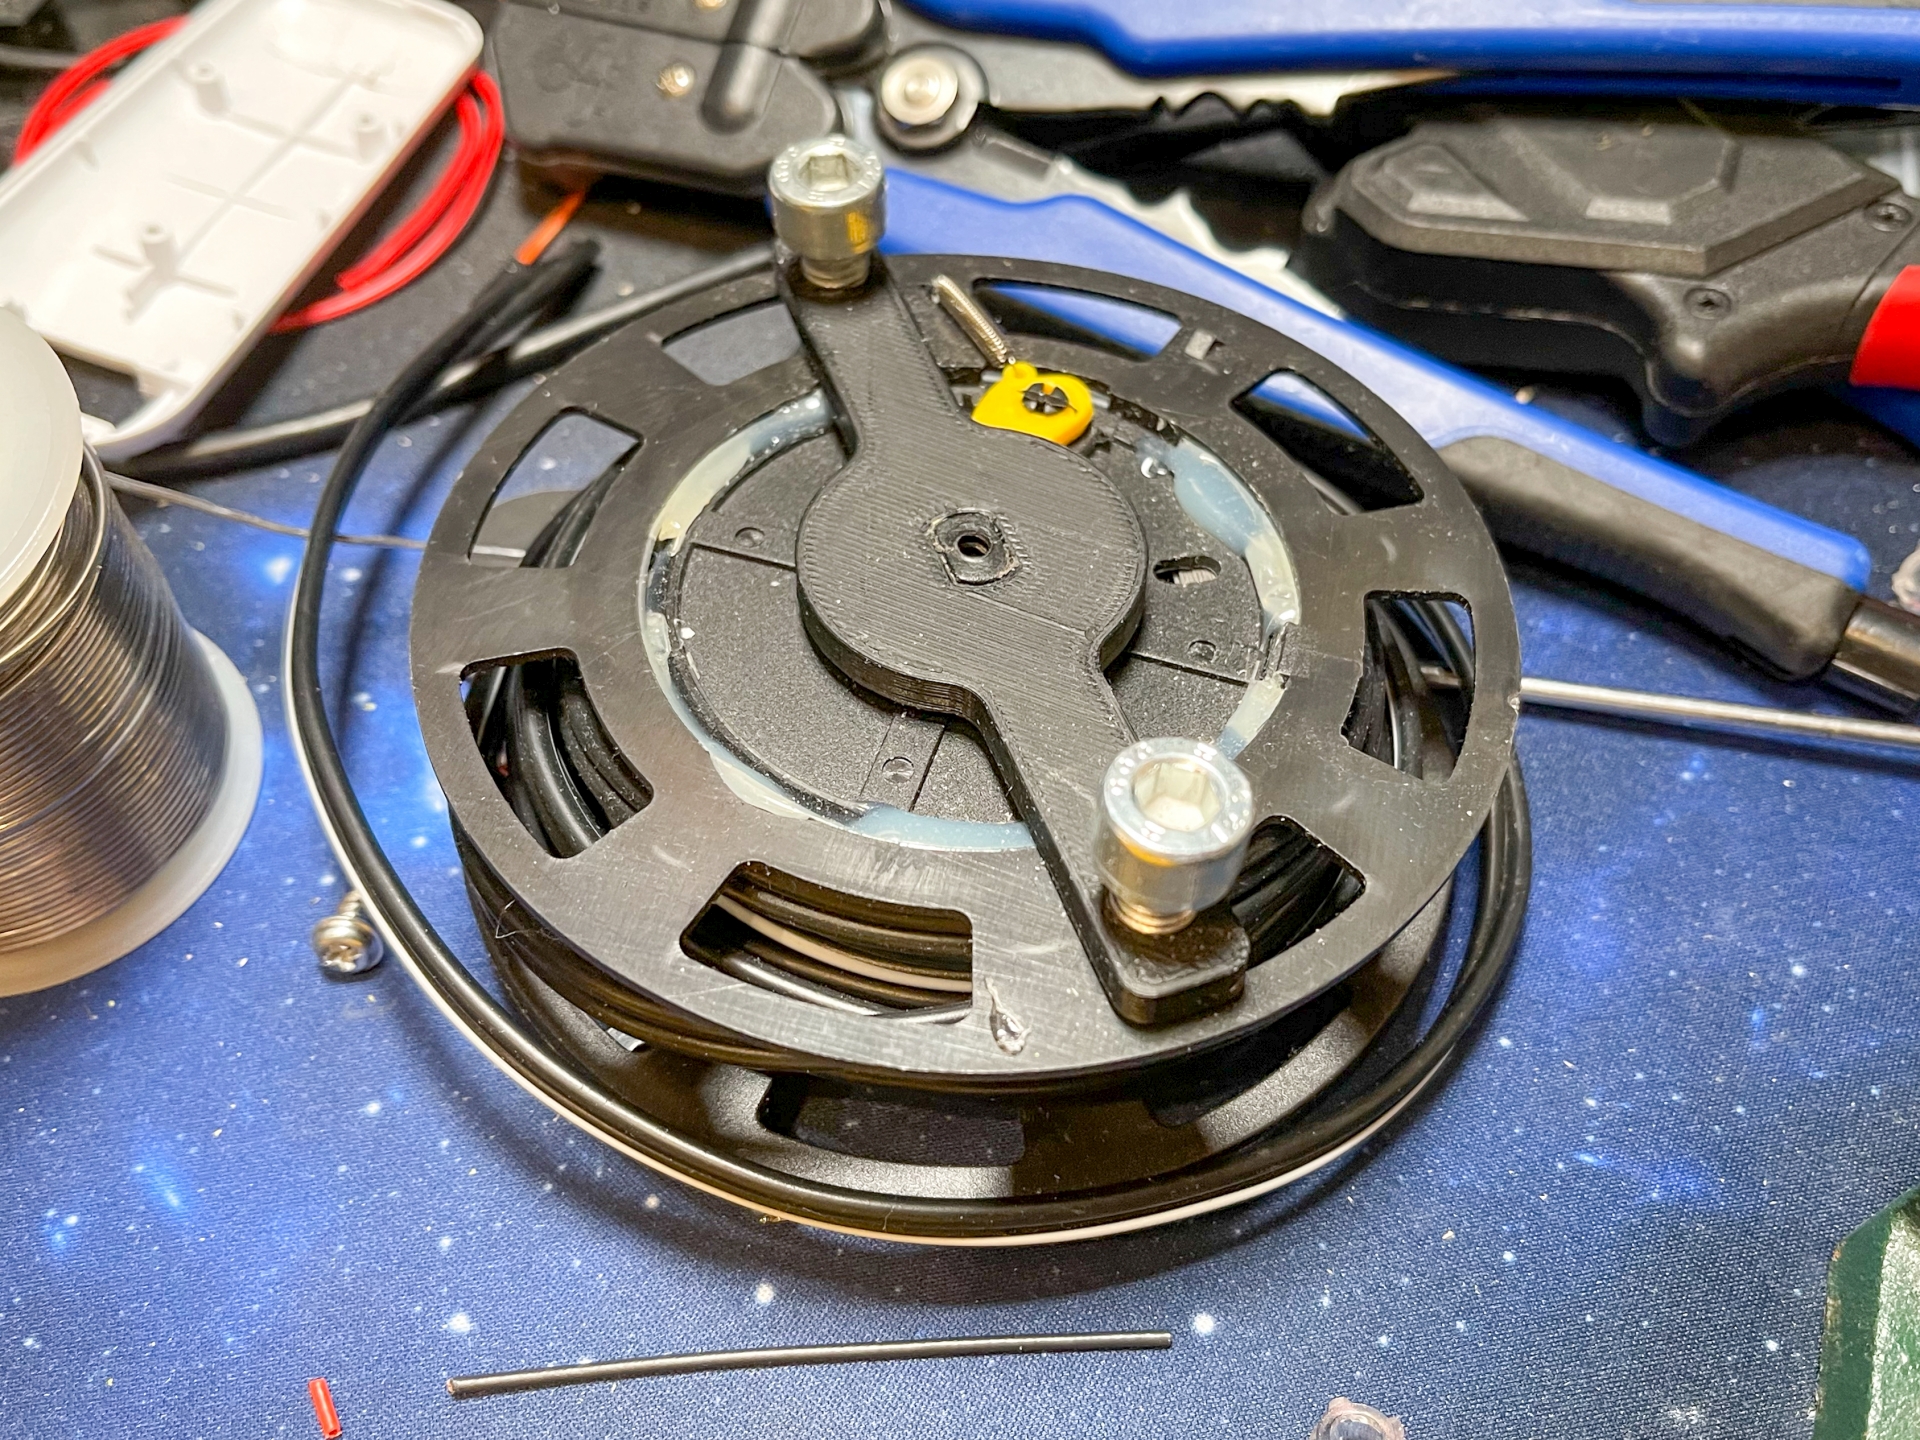
The reel is attached by screws top and bottom, which also stop the sprung internal section from unwinding itself. So I could remove the reel, I 3D printed a piece I could use with a couple of screws to lock the reel.
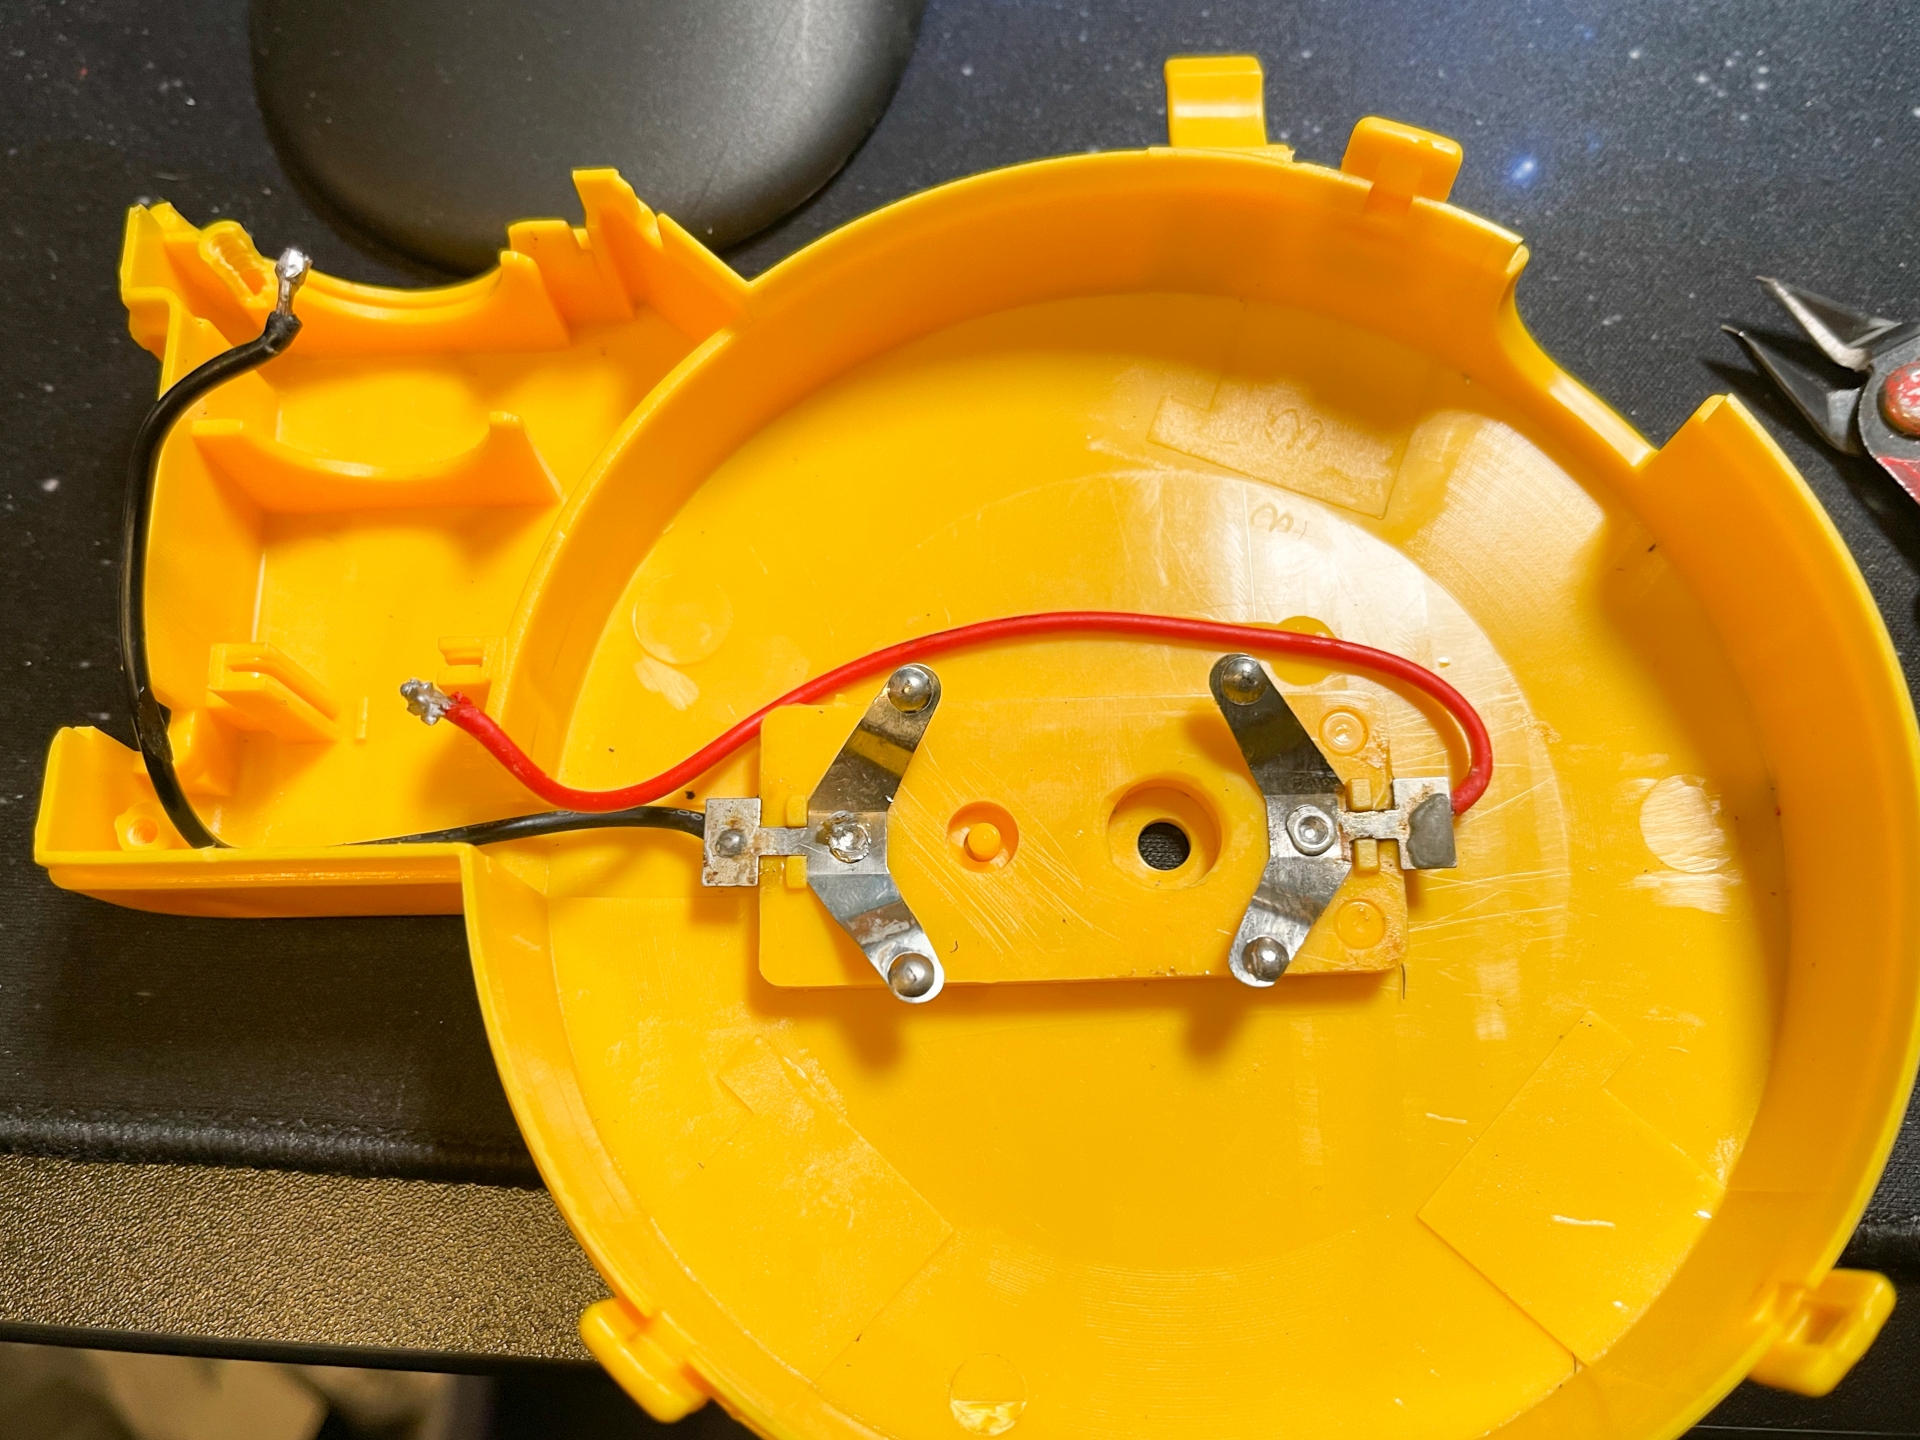
Under the reel there are springy contacts that ride on what look like brass rings on the underside of the reel. Seems decent.
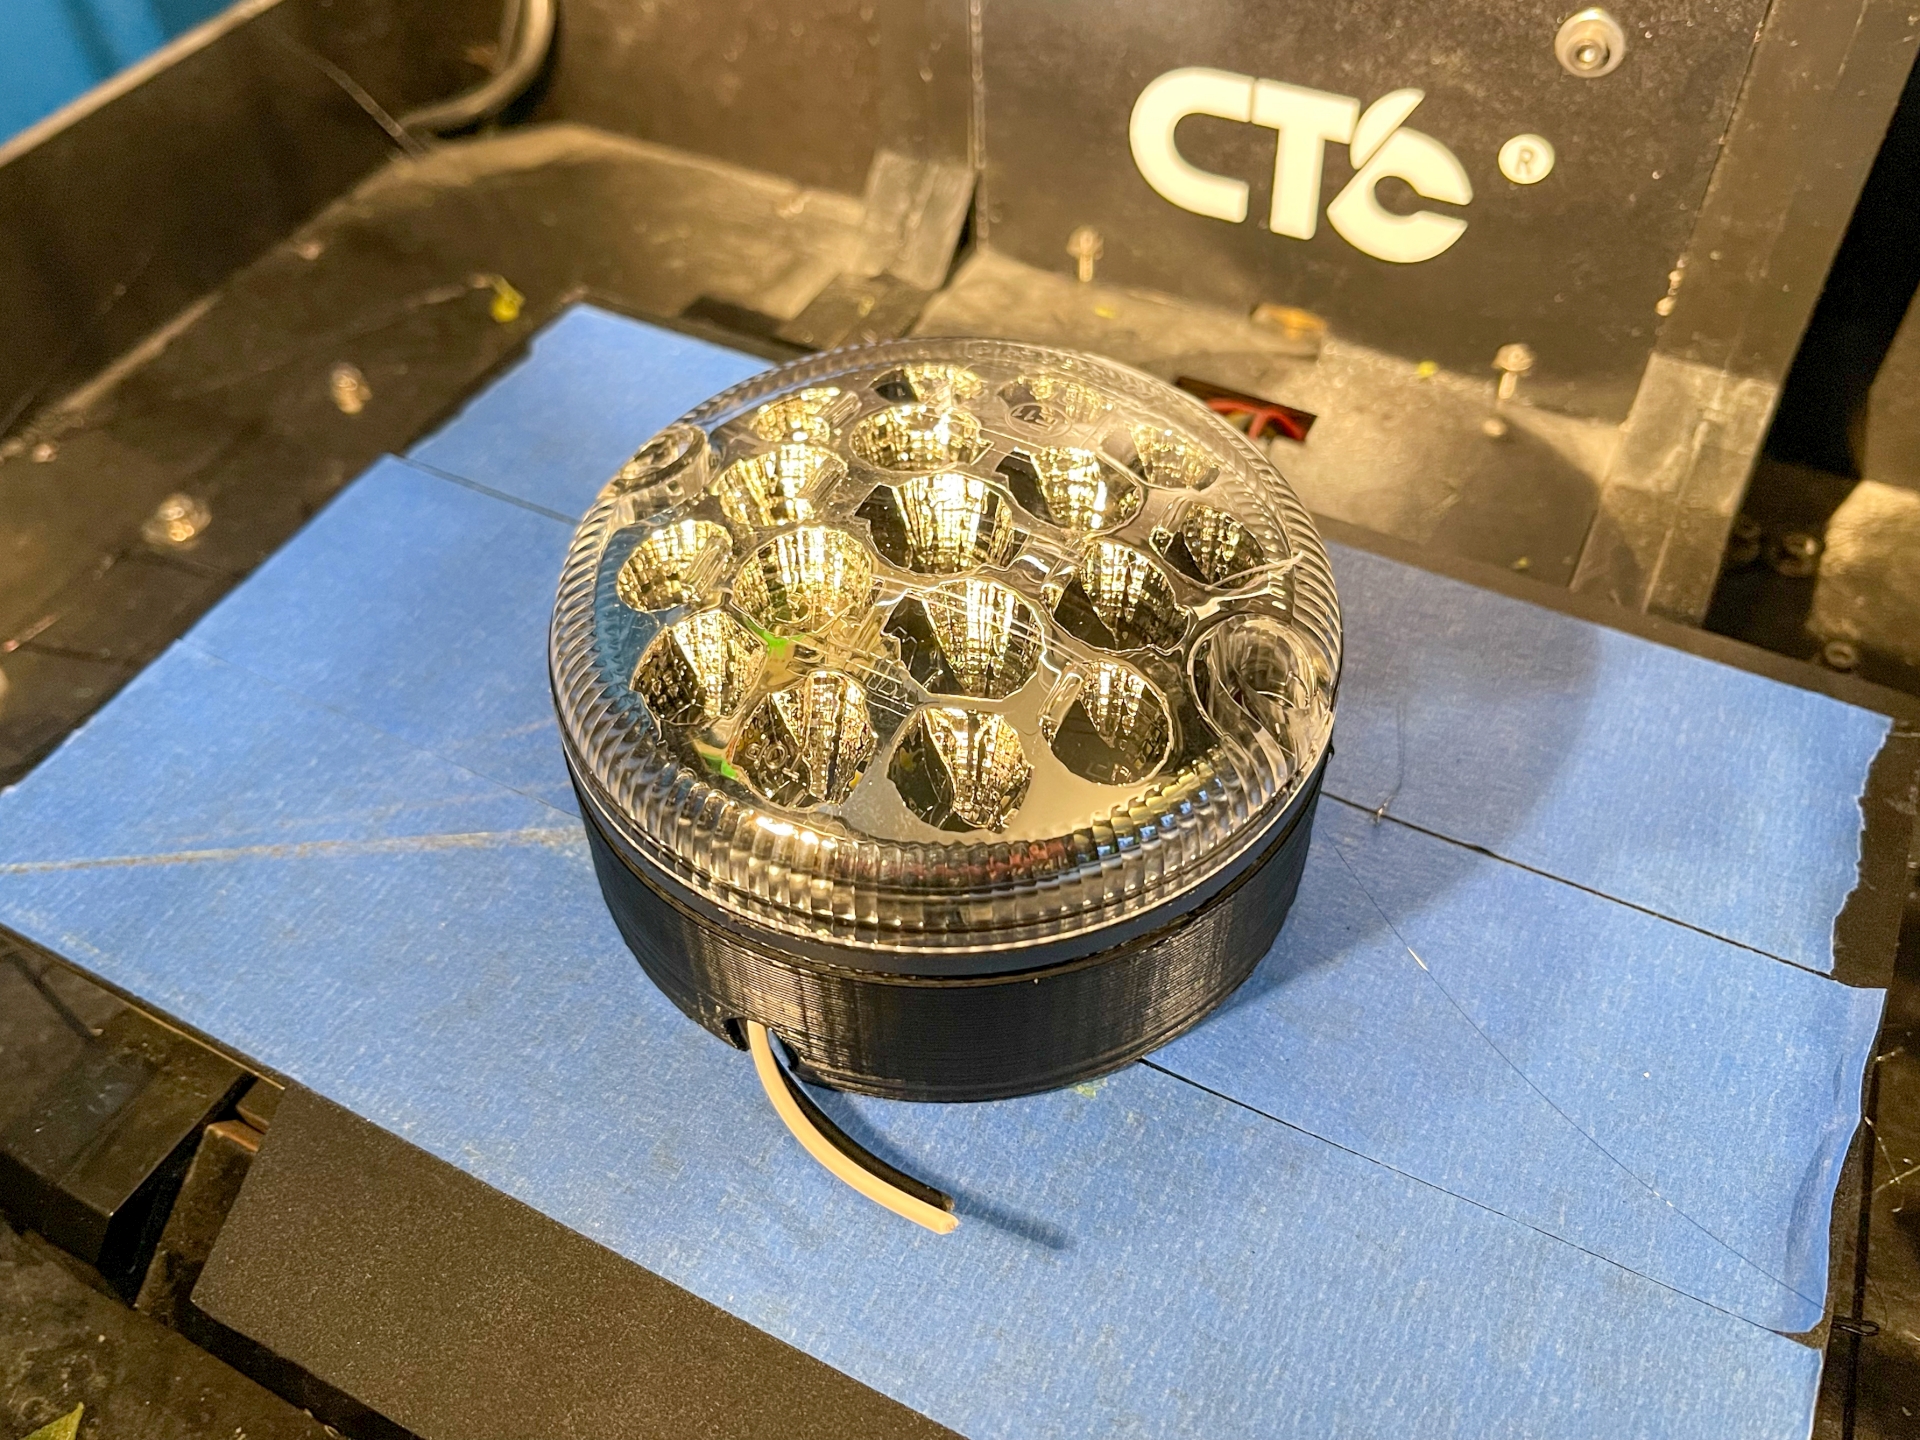
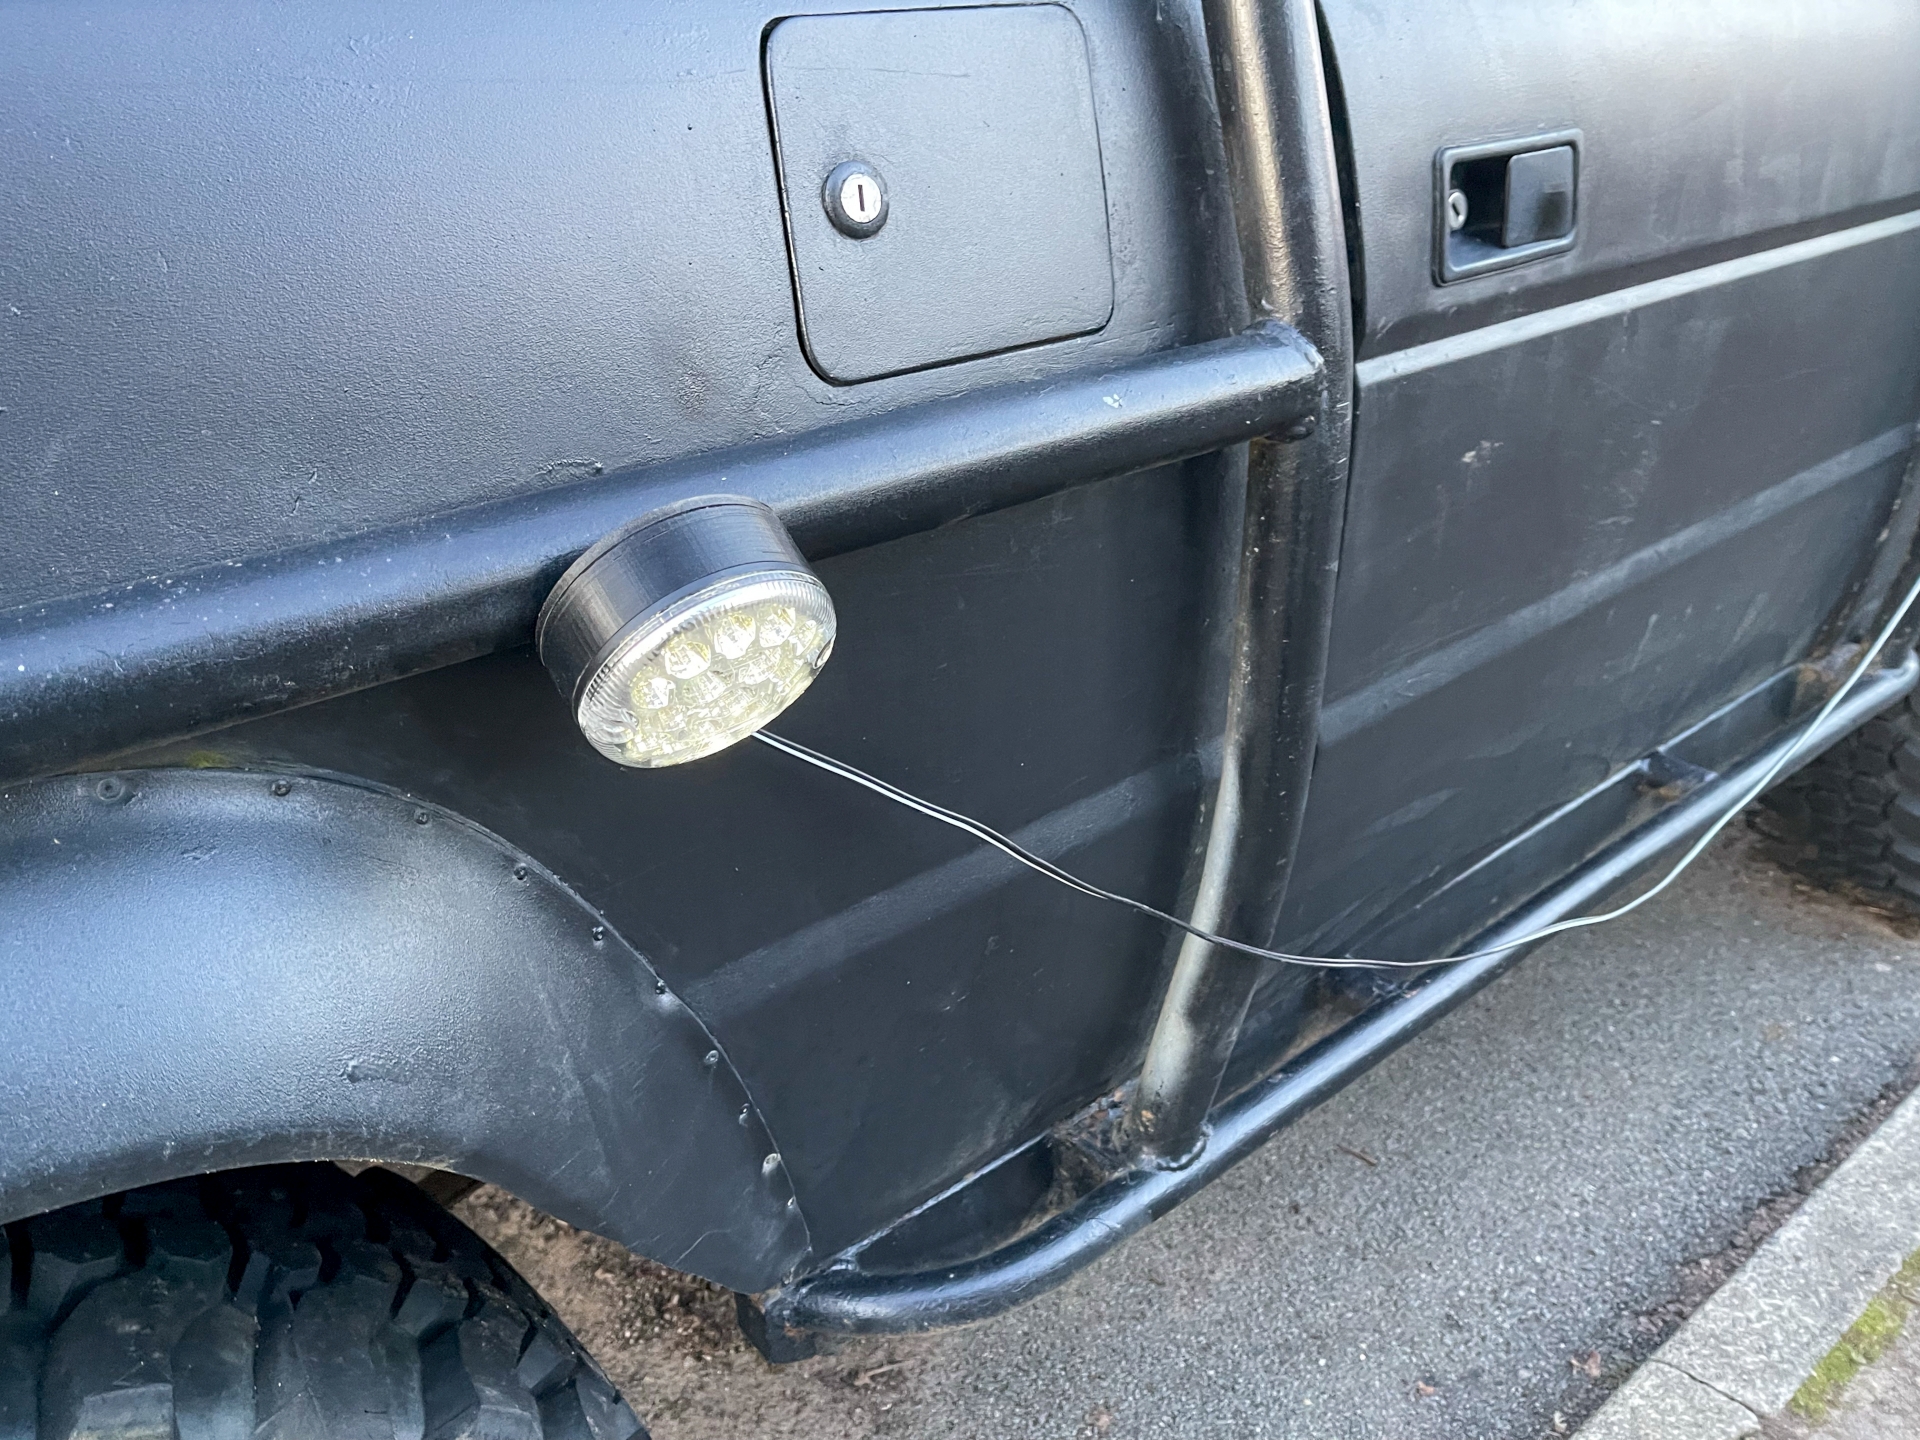
Now to deal with the lamp itself. I immediately went to what I knew and got a Land Rover lamp. This is a NAS spec (90mm) LED reversing lamp from WIPAC, so it should be fine.
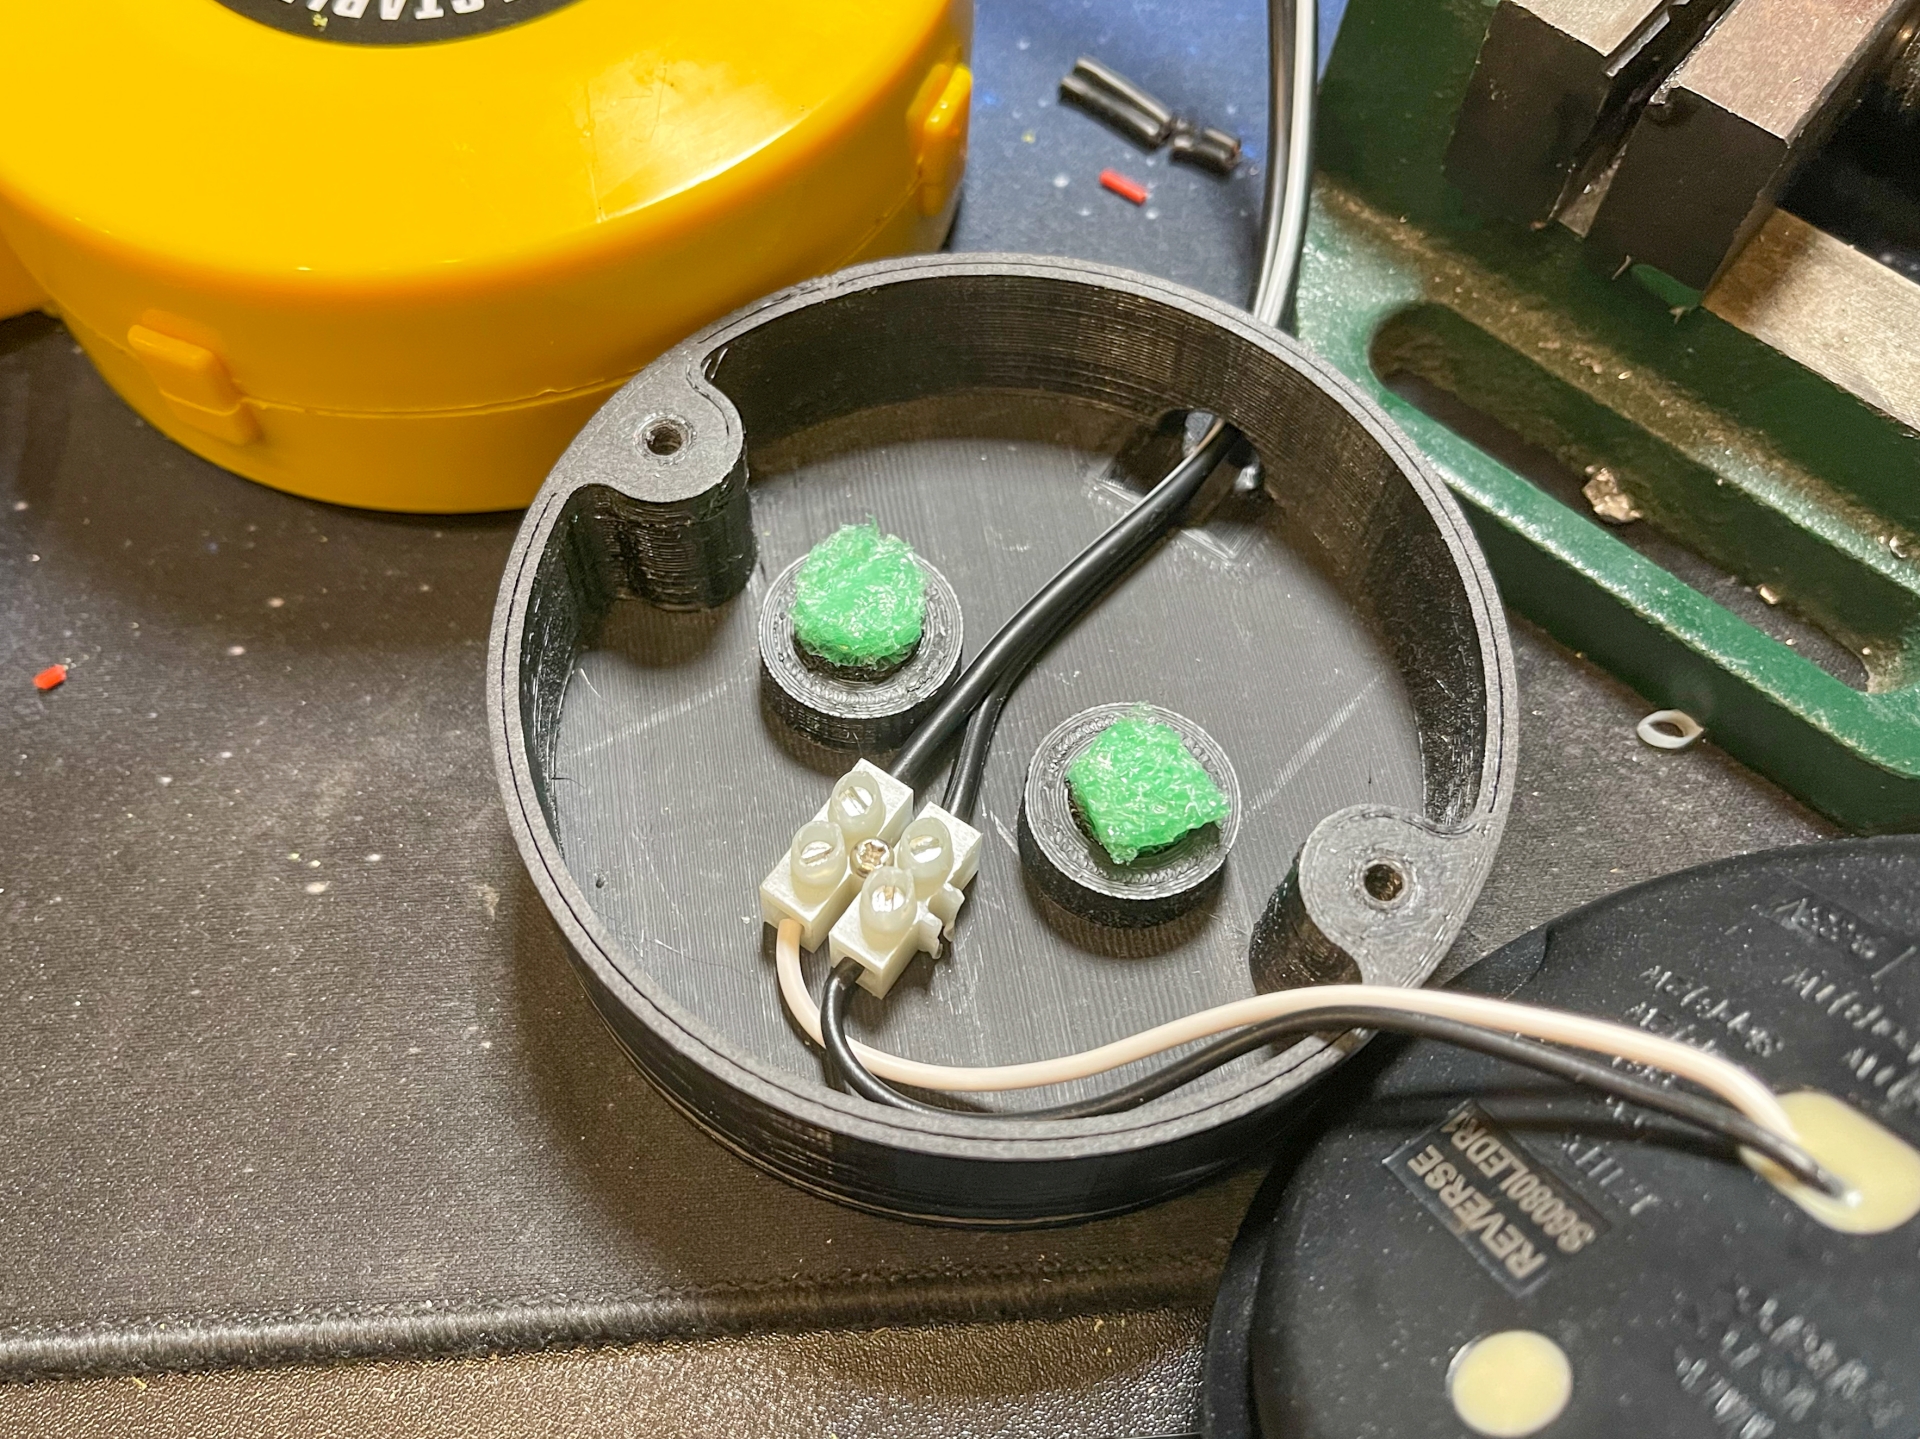
I 3D printed a base for it that would also hold two strong neodymium magnets. I thought I'd just press the magnets in and they would be fine, the holes were a bit more slack than I expected though and the first test just left the magnets behind. So I printed a thin base. It takes away a little bit of the magnets strength but it's still good.
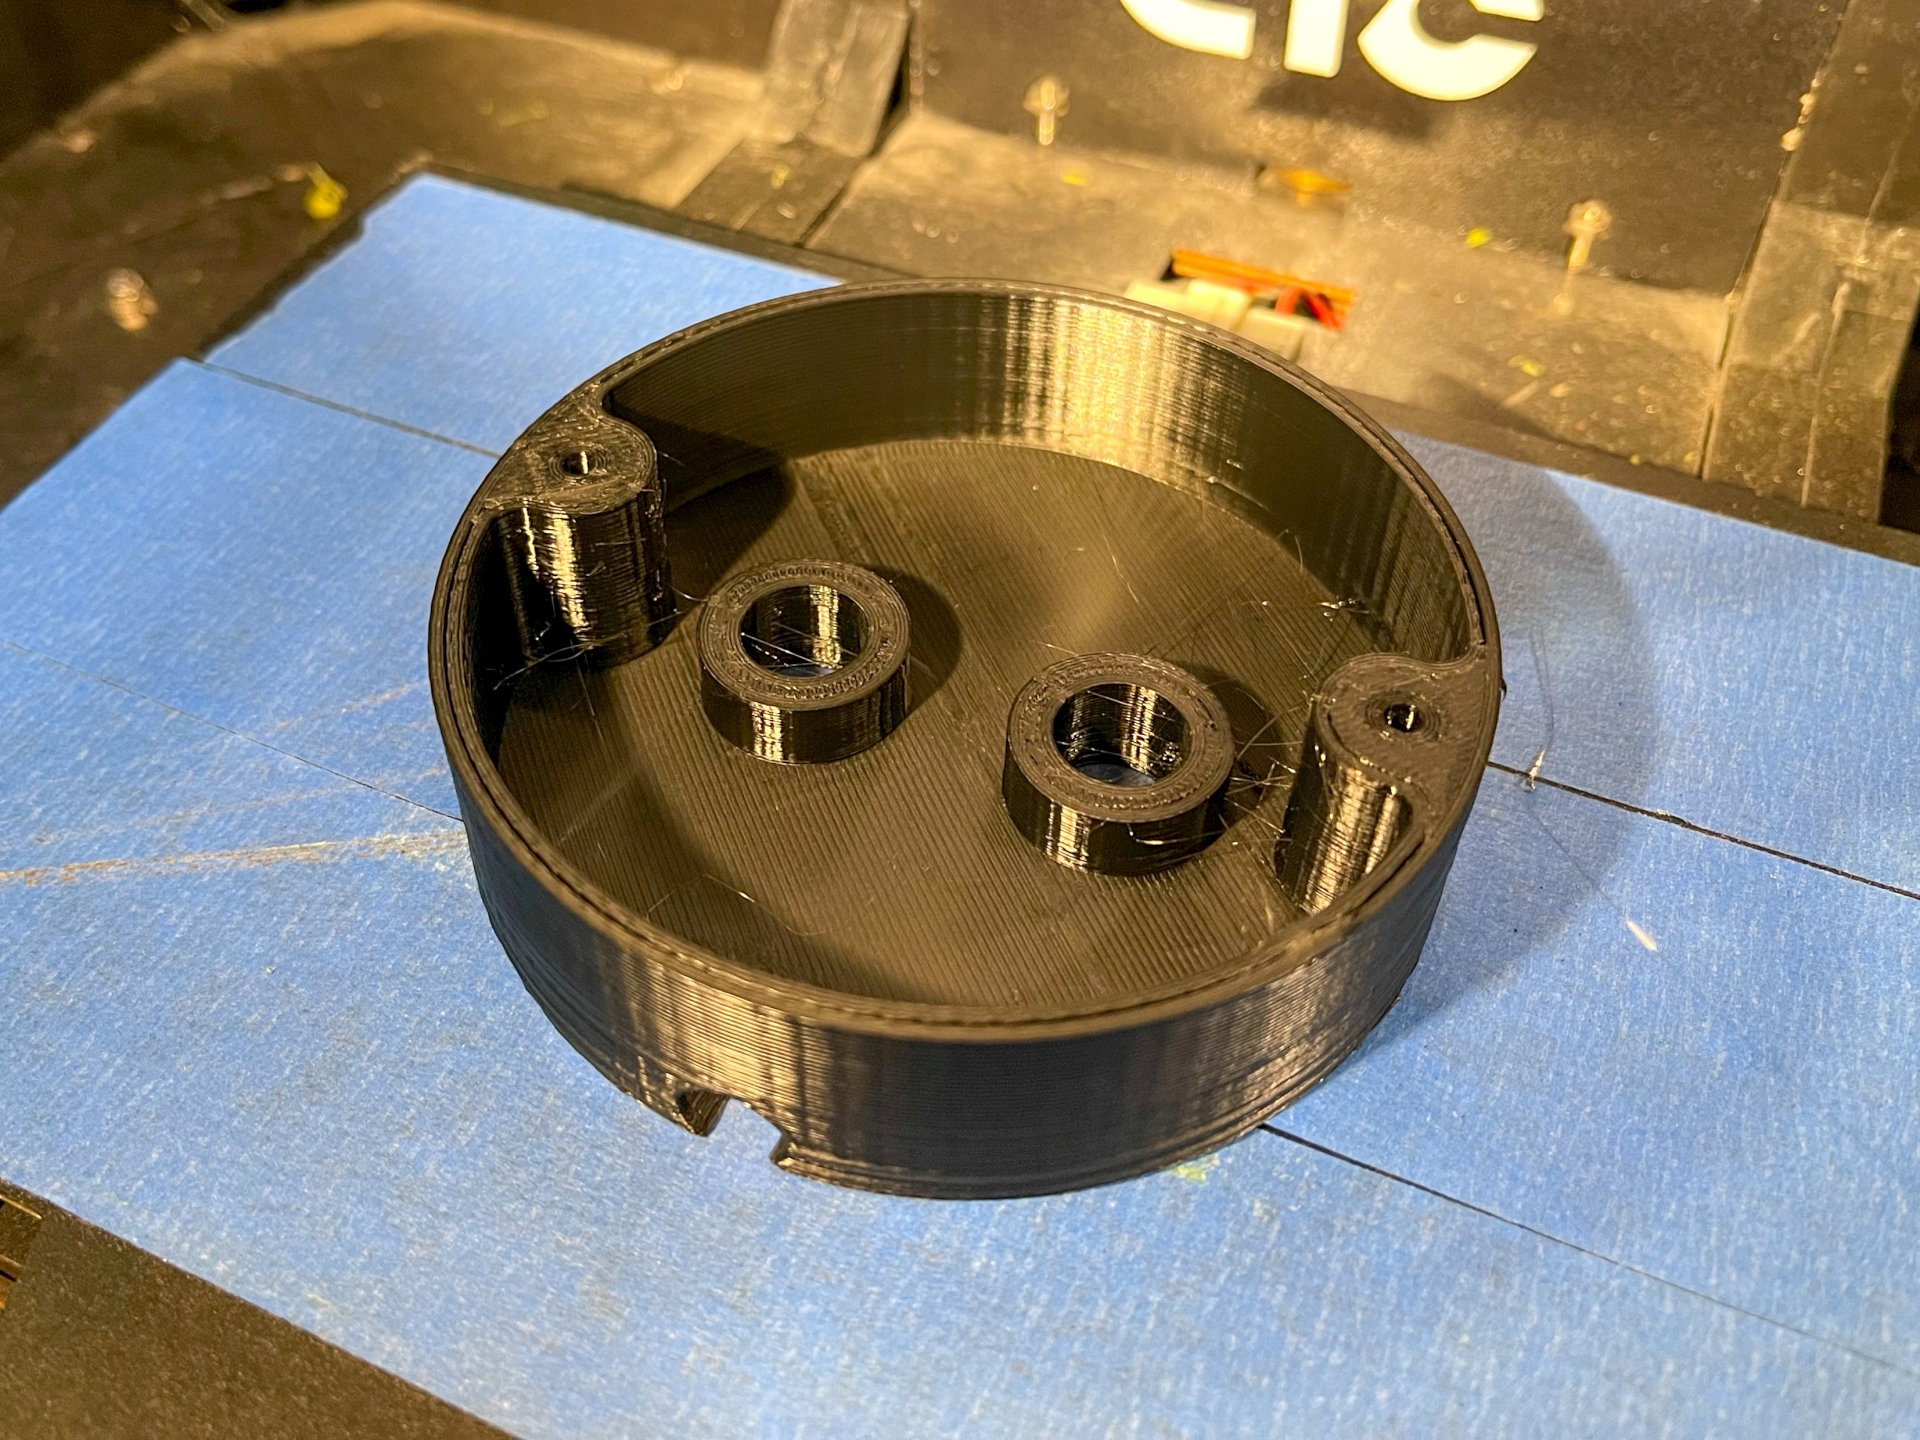
The lamp screws onto the top. I probably should've just bought the mount but this didn't cost much in PETG filament.
Back to the reel. Did I mention that it's yellow? I didn't want yellow. I once again tried Rit dye in hot water and once again it failed. I don't have a picture of the result but imagine something that has just been saved from the early stages of a house fire. It's warped and has a sooty black coating that rubs off. So I had to buy a second reel, thankfully they're cheap. This one is staying yellow, for now anyway.
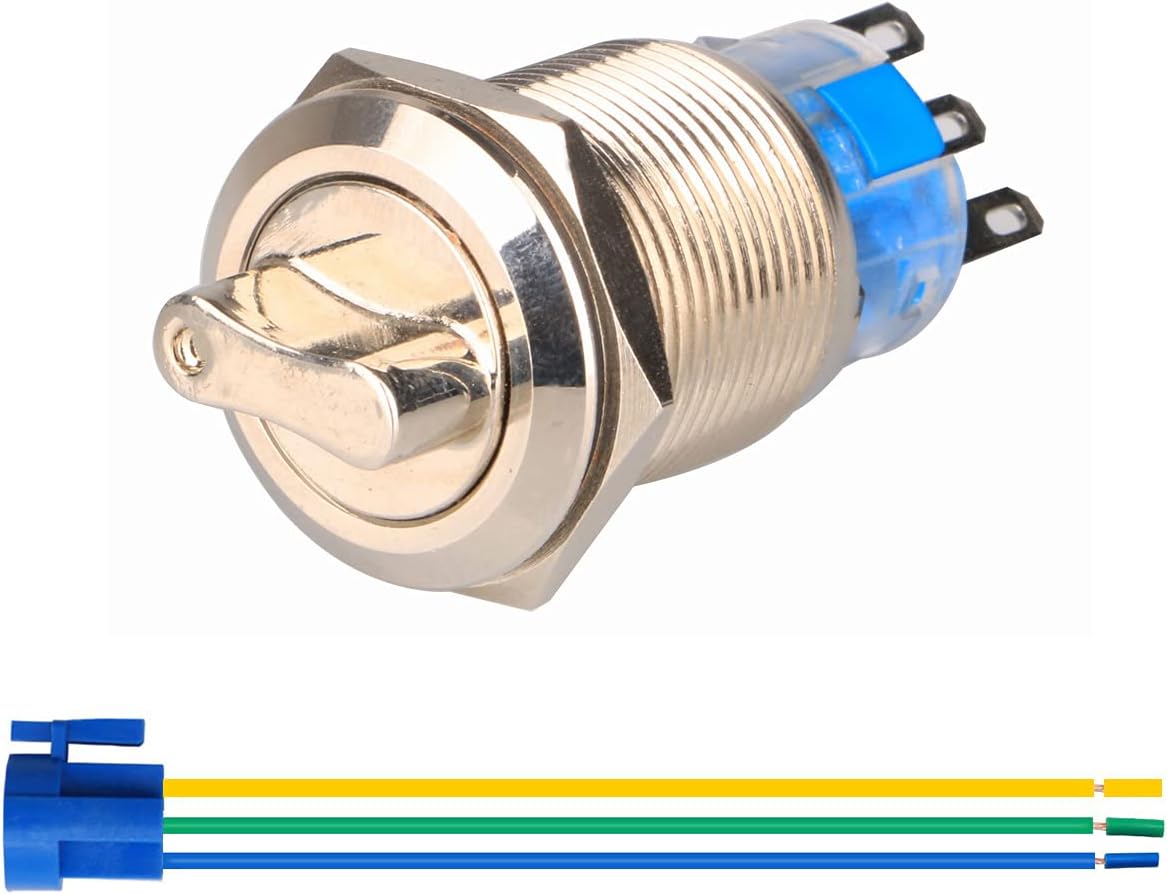
I wanted something like the rotating lever switch on the Jeep lamp, fitting a toggle switch would be easy but it would be way too easy to knock it and leave it on under the bonnet. The only thing I found was this rotating switch, which is a bit cheap but it works and it claims to be waterproof.
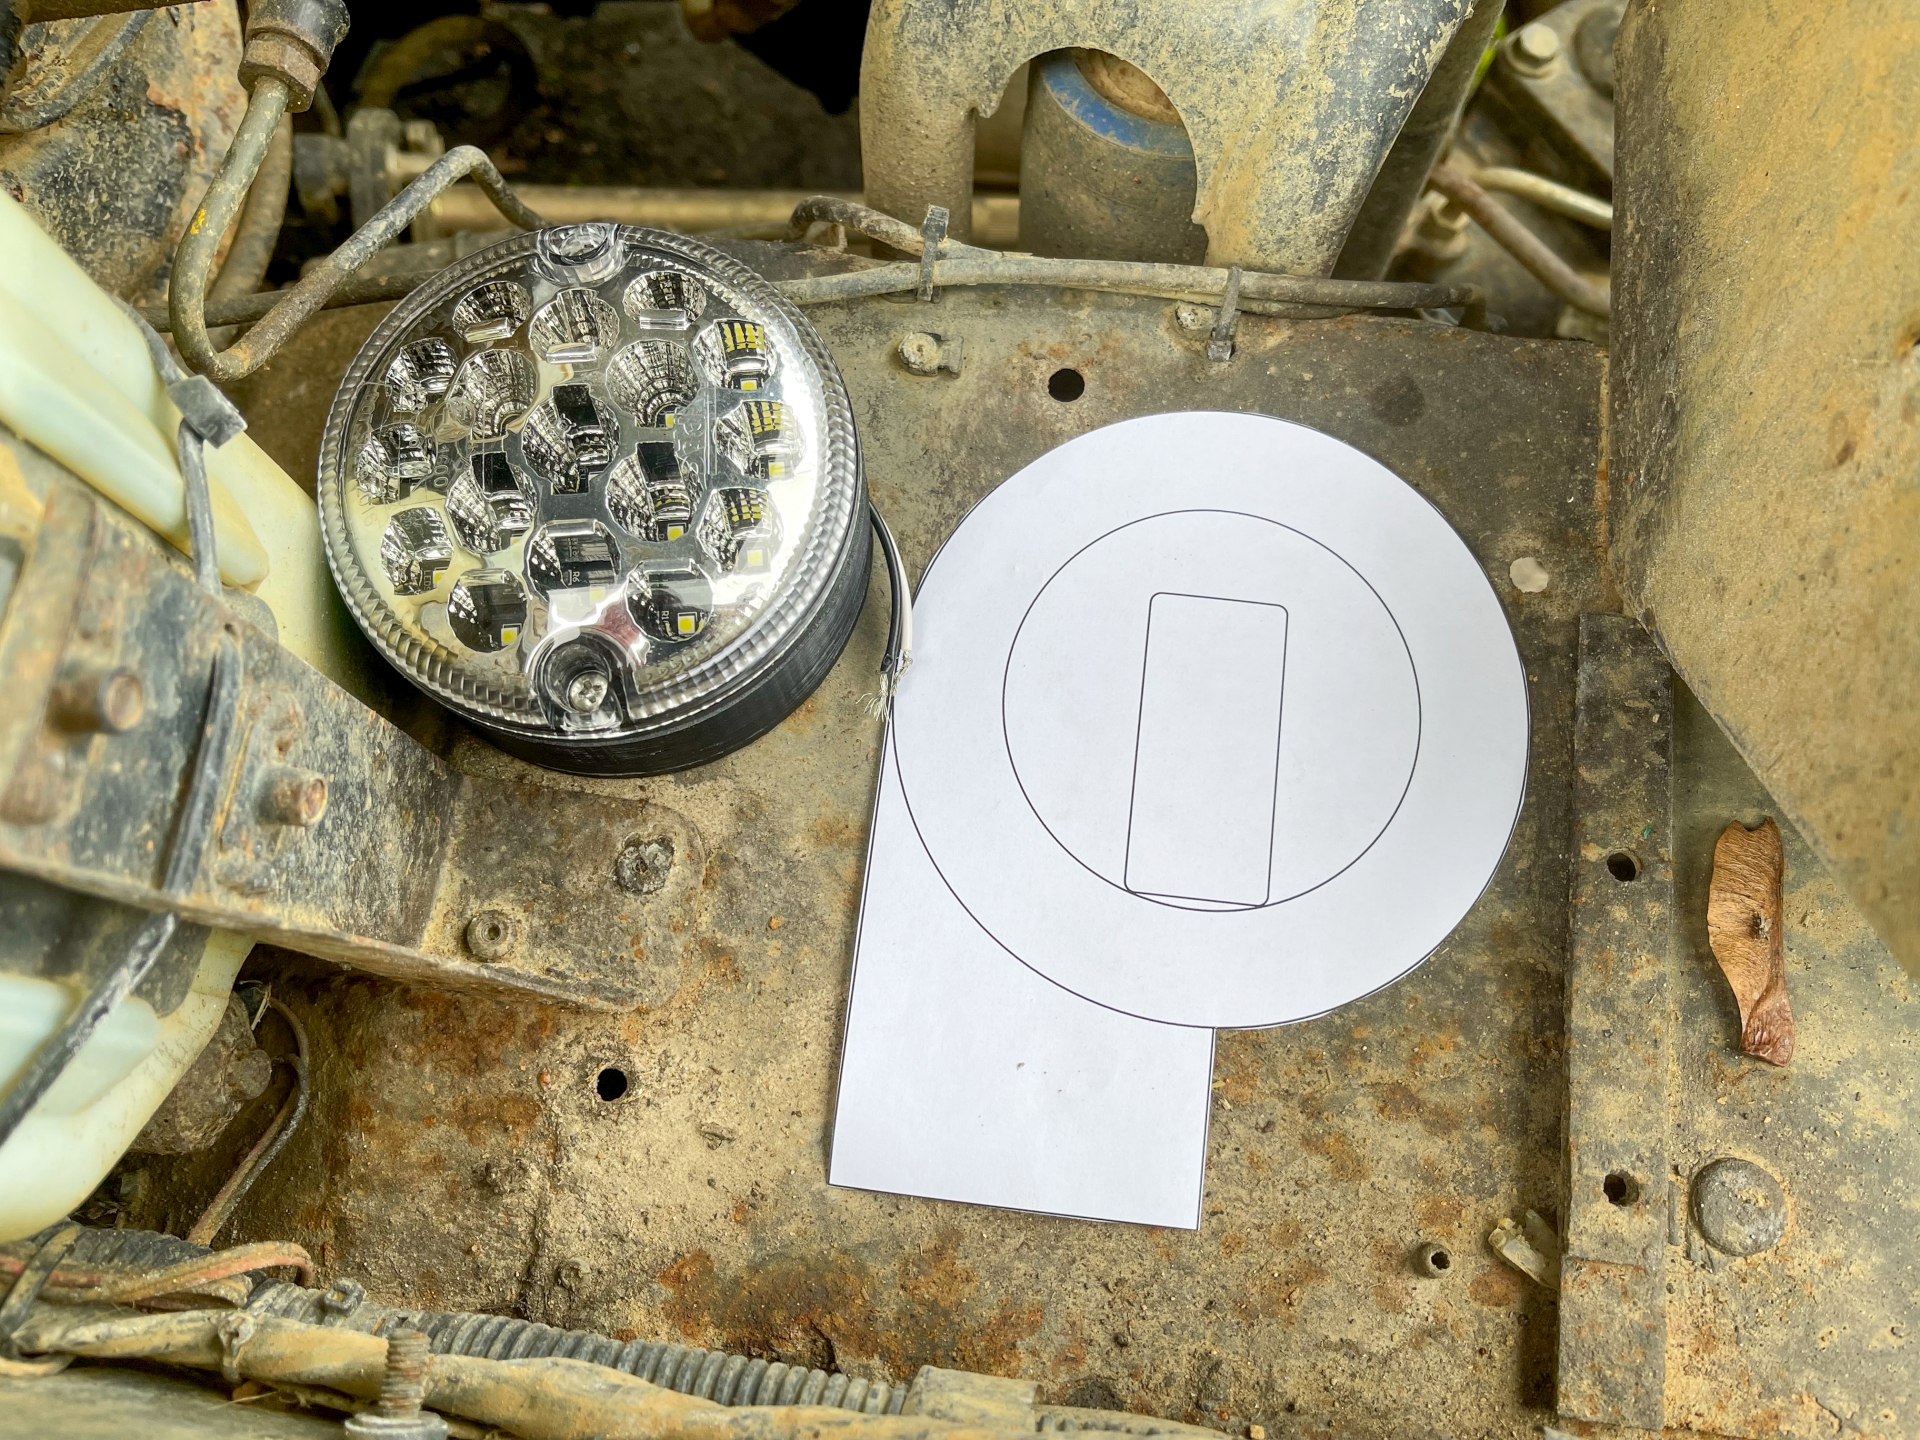
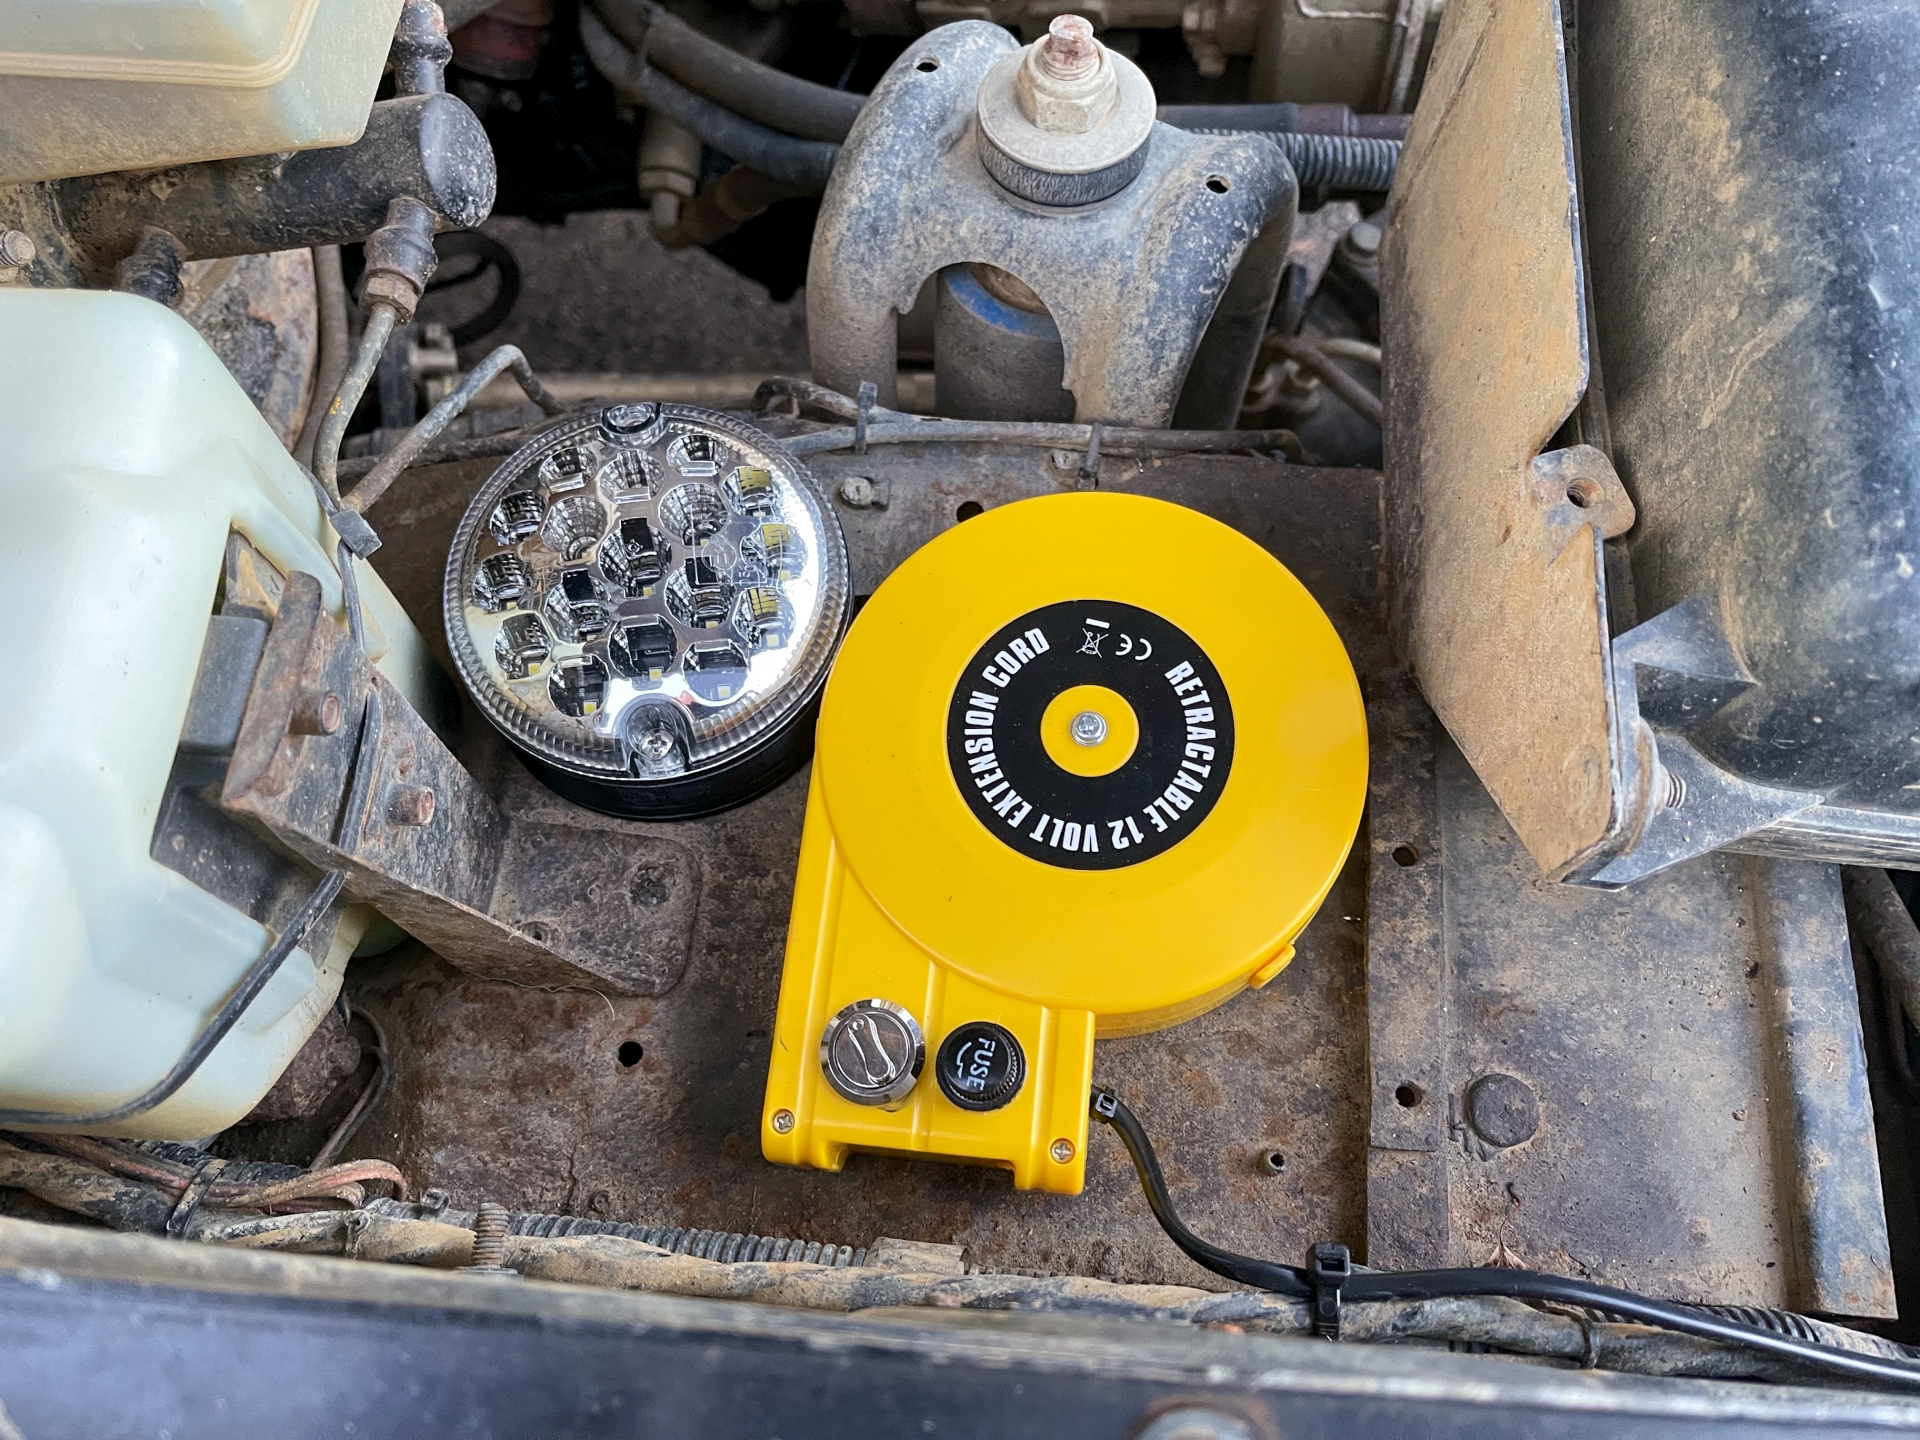
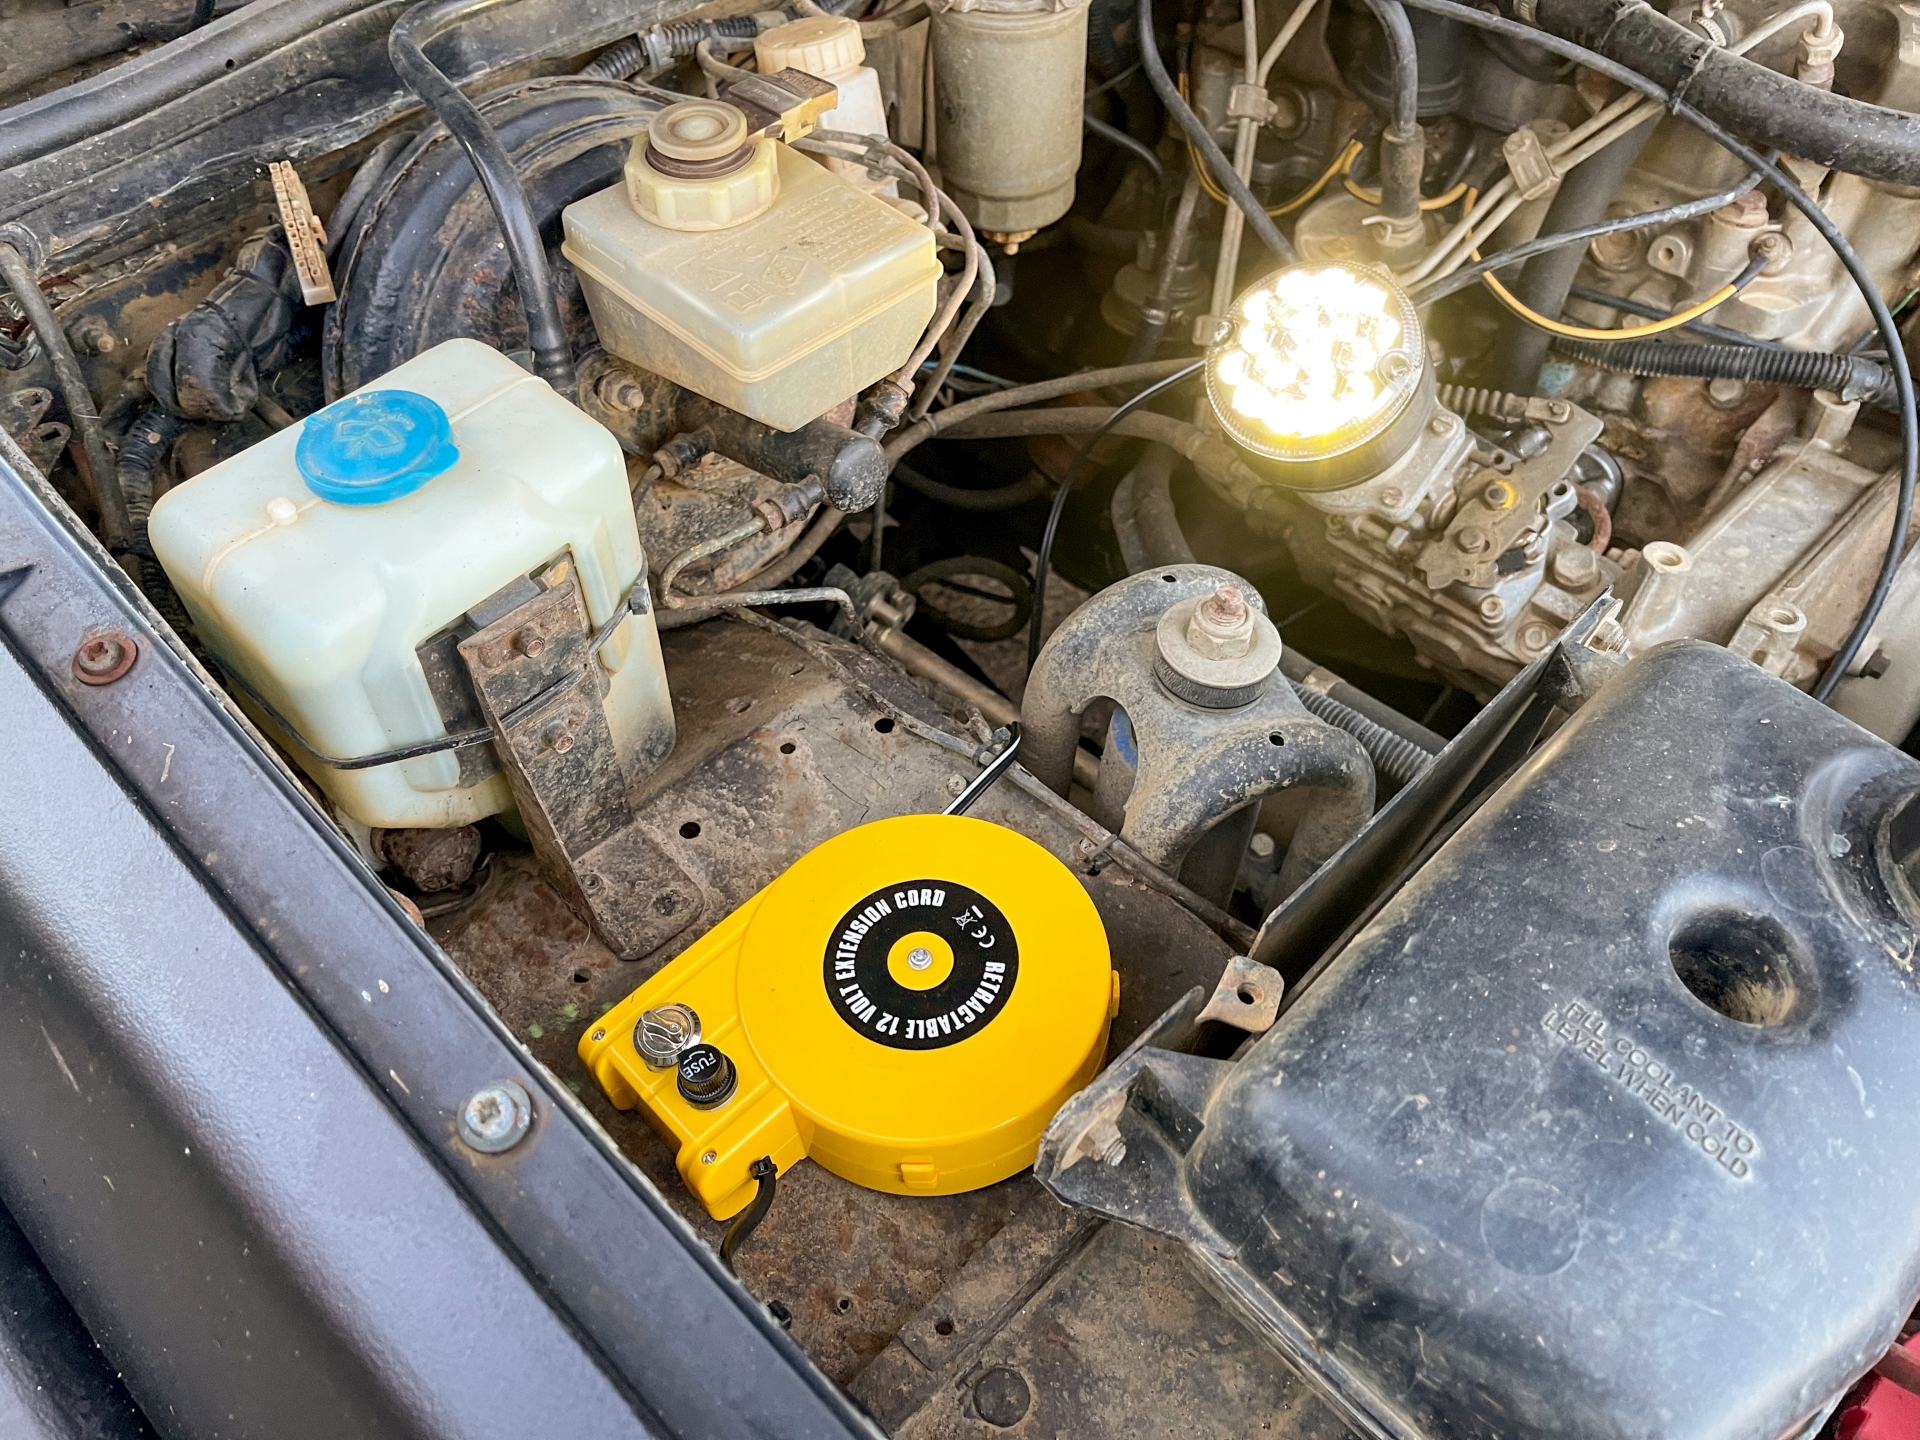
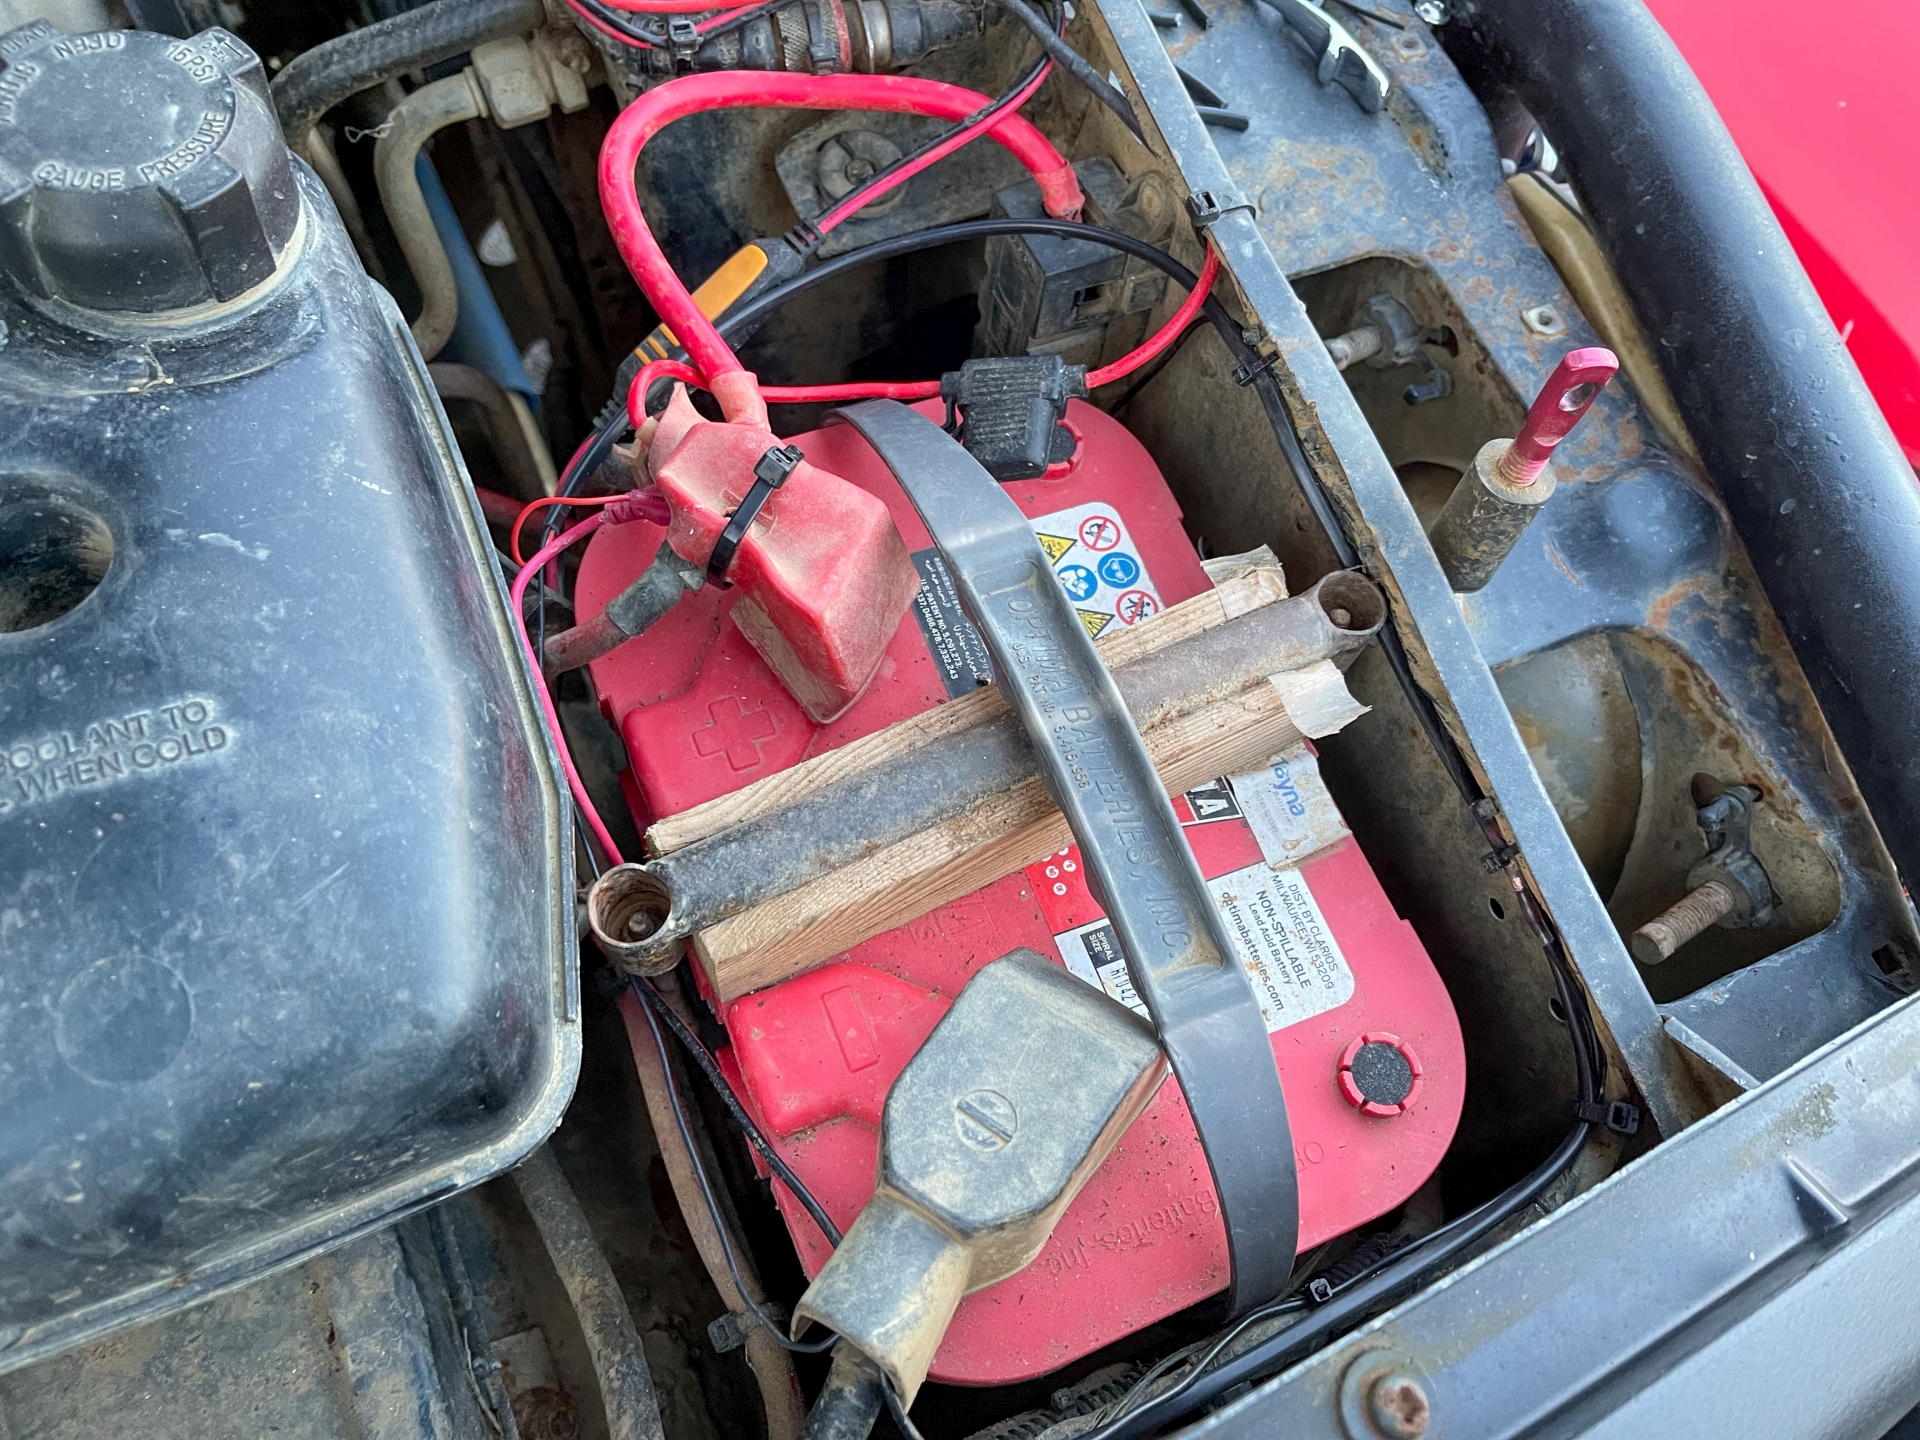
While waiting for parts, I decided where the reel would go in the engine bay. This empty space worked out OK. I was going to mount it on the bonnet like the Jeep has but that would've meant fabricating a bracket. I drilled three holes and added rivnuts to the reel, it was either that or bolt it down with nuts and bolts, then have a hole drilled to screw in the reel from beneath. Maybe the latter would've been better but this works OK. In this picture, the front of the vehicle and main battery is to the right.
When my parts arrived, I wired the switch in with the power input cable where the old output used to be. I ran the cable out of the other side because that's where the battery is. I made a plastic disc to glue over the opening where the 12V socket originally sat. I also added a fuse holder. I was initially just going to use an in-line blade fuse holder but they only go down to 5A and that's way too high. I already had 1.5A 30mm glass fuses and this cheap holder fits perfectly.
For the sake of easy disassembly, I decided to use a junction block to join the wires. It only takes up a small amount of space and when screwed down it acts as a bit of strain relief. The little bits of foam are above the big magnets, they just stop them rattling around. This all worked so I took it out to the Disco.
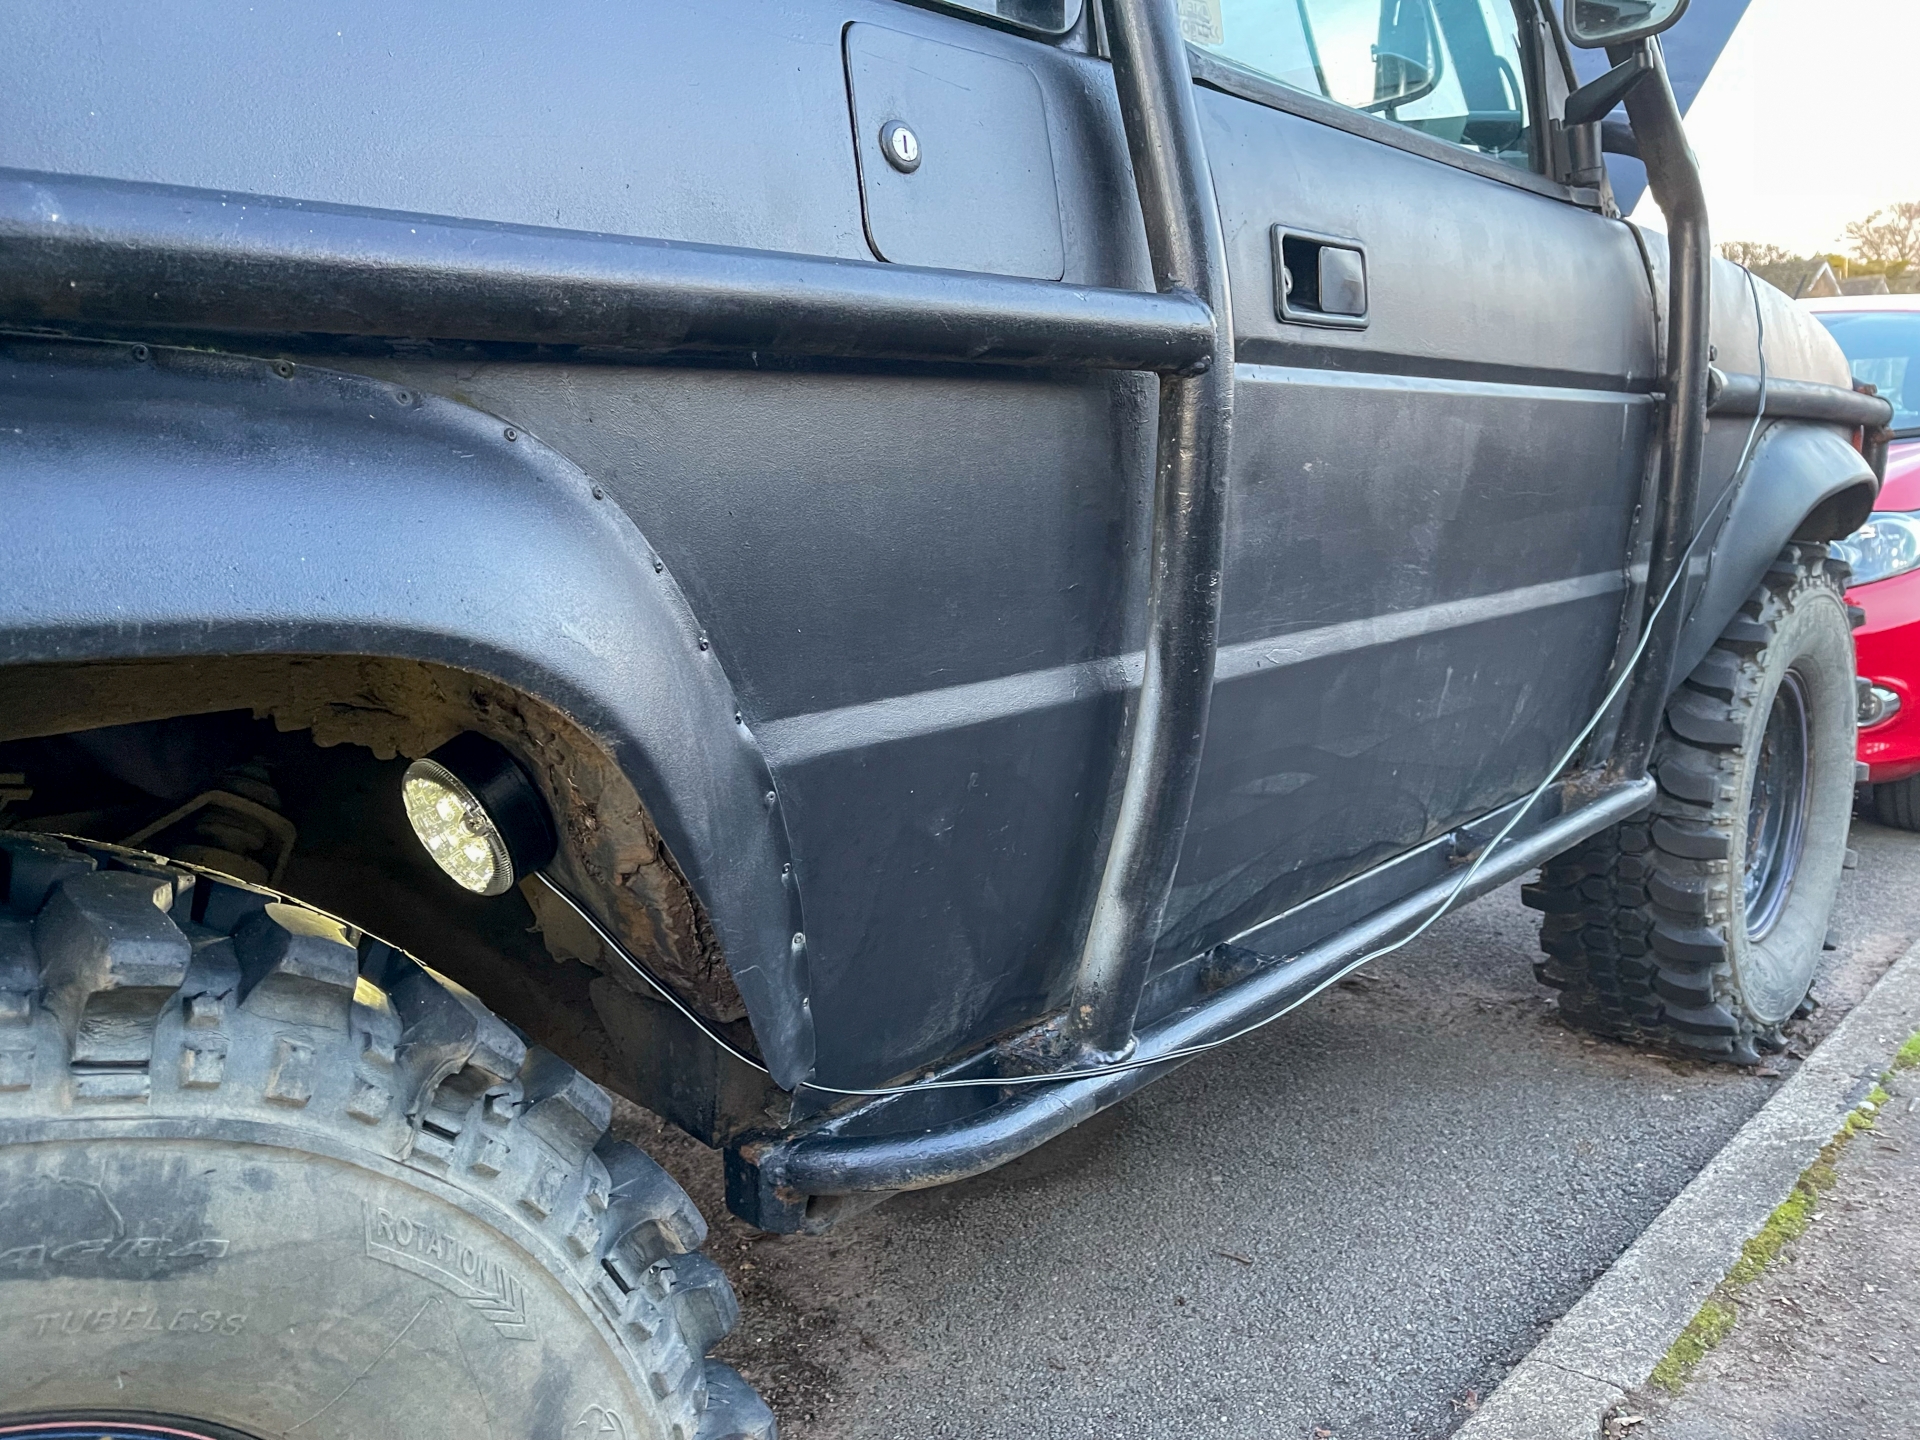
Bolted in and with the lamp in its resting position. The bolts come up from below and are button heads, they won't damage the tyres if they touch.
It'll hang on anything steel. As the bonnet is aluminium, I need to make a plate for it to sit on. That'll be easy enough as it's just round and I have a big hole saw. I'll just smear a load of sealant on it to prevent contact with the ally and rivet it to the underside of the bonnet.
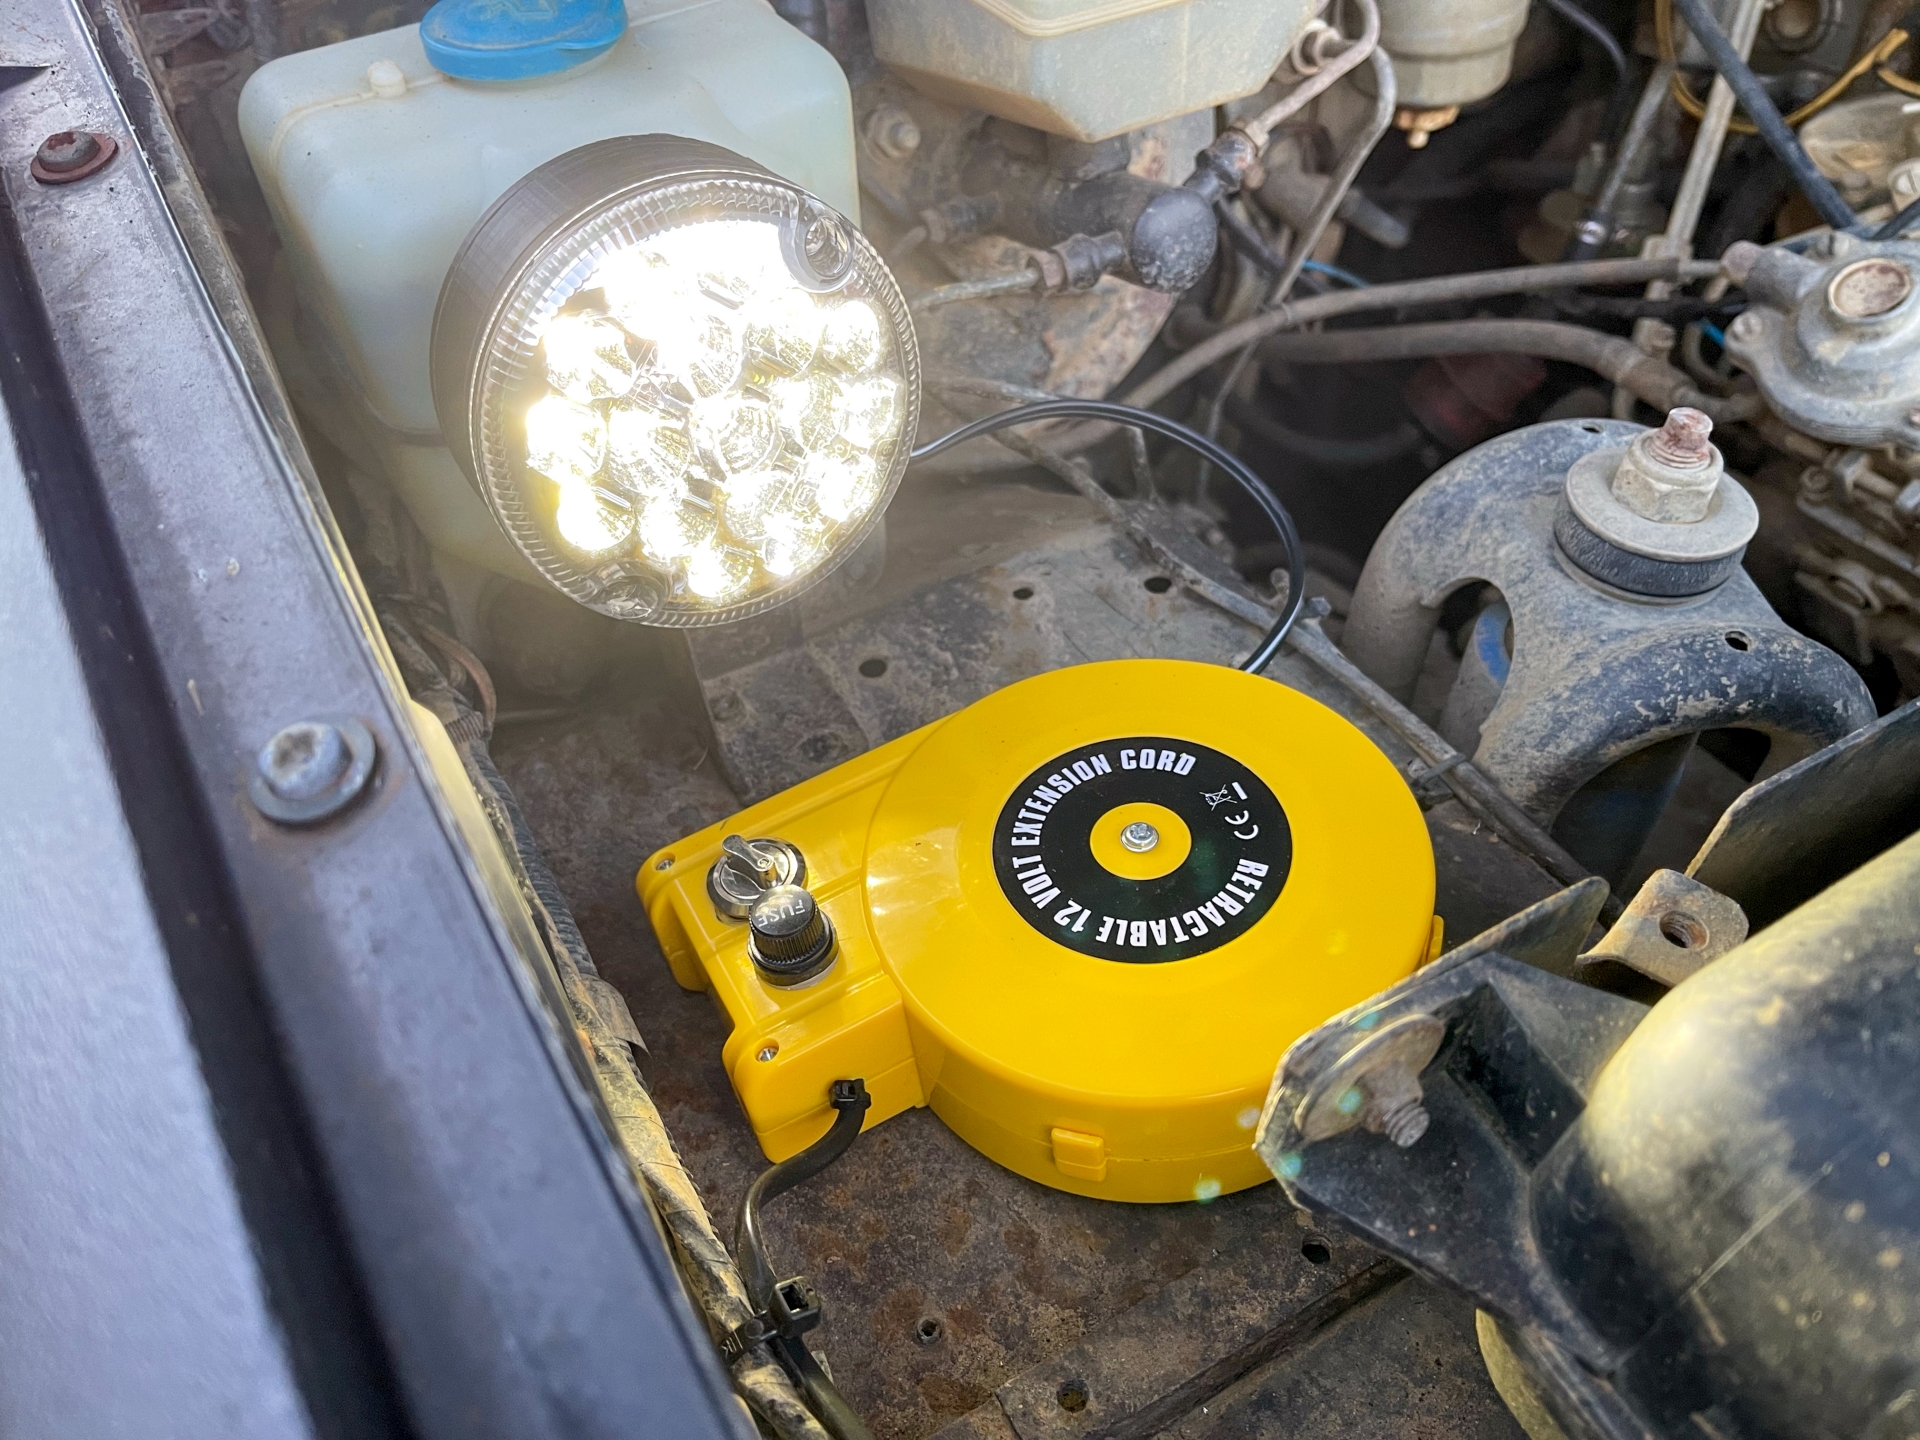
Cables are routed vaguely neatly.
Another project done. Next is to remove the rear part of the exhaust again, fit the new rubbers mounts to the centre section and refit the rear with the bigger sleeve I've bought. I knew I should've replaced the rubber mounts first, I wasn't paying attention when fitting the first sleeve and the whole thing is slightly rotated. The hangers don't line up.